Customising your receipts


Customising your receipts

Create professional looking receipts for your customers.

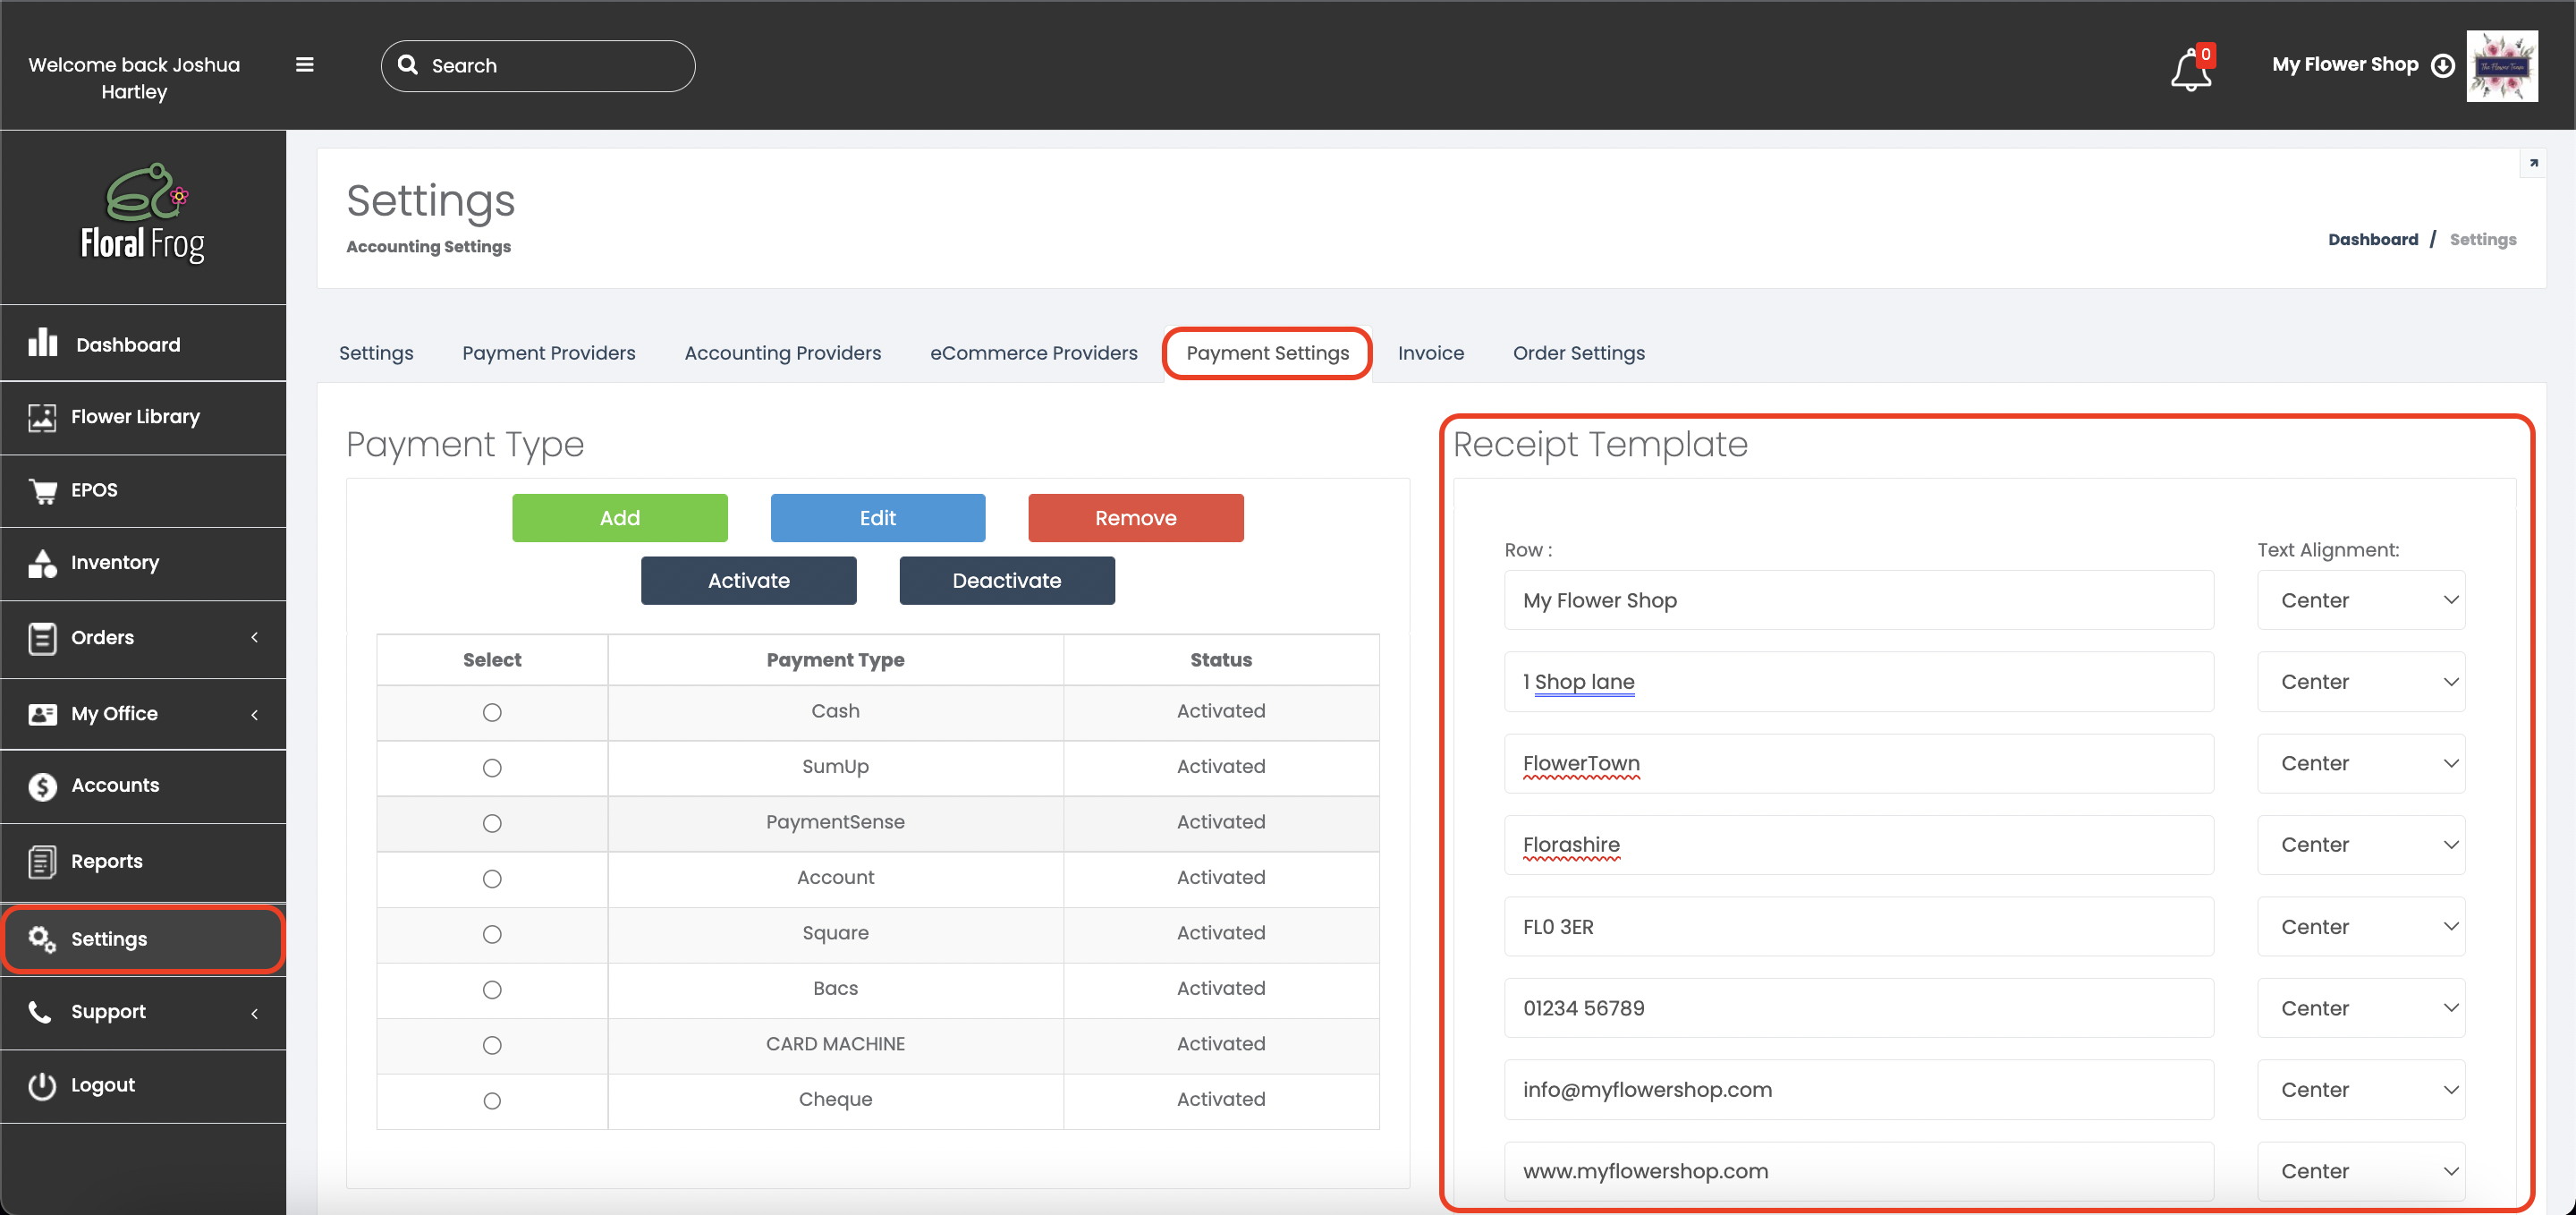
To do this, open the back office and navigate to SETTINGS > PAYMENT SETTINGS and fill out the receipt template with all your shop info like Business name, Address, Website, and contact info (here is an example).


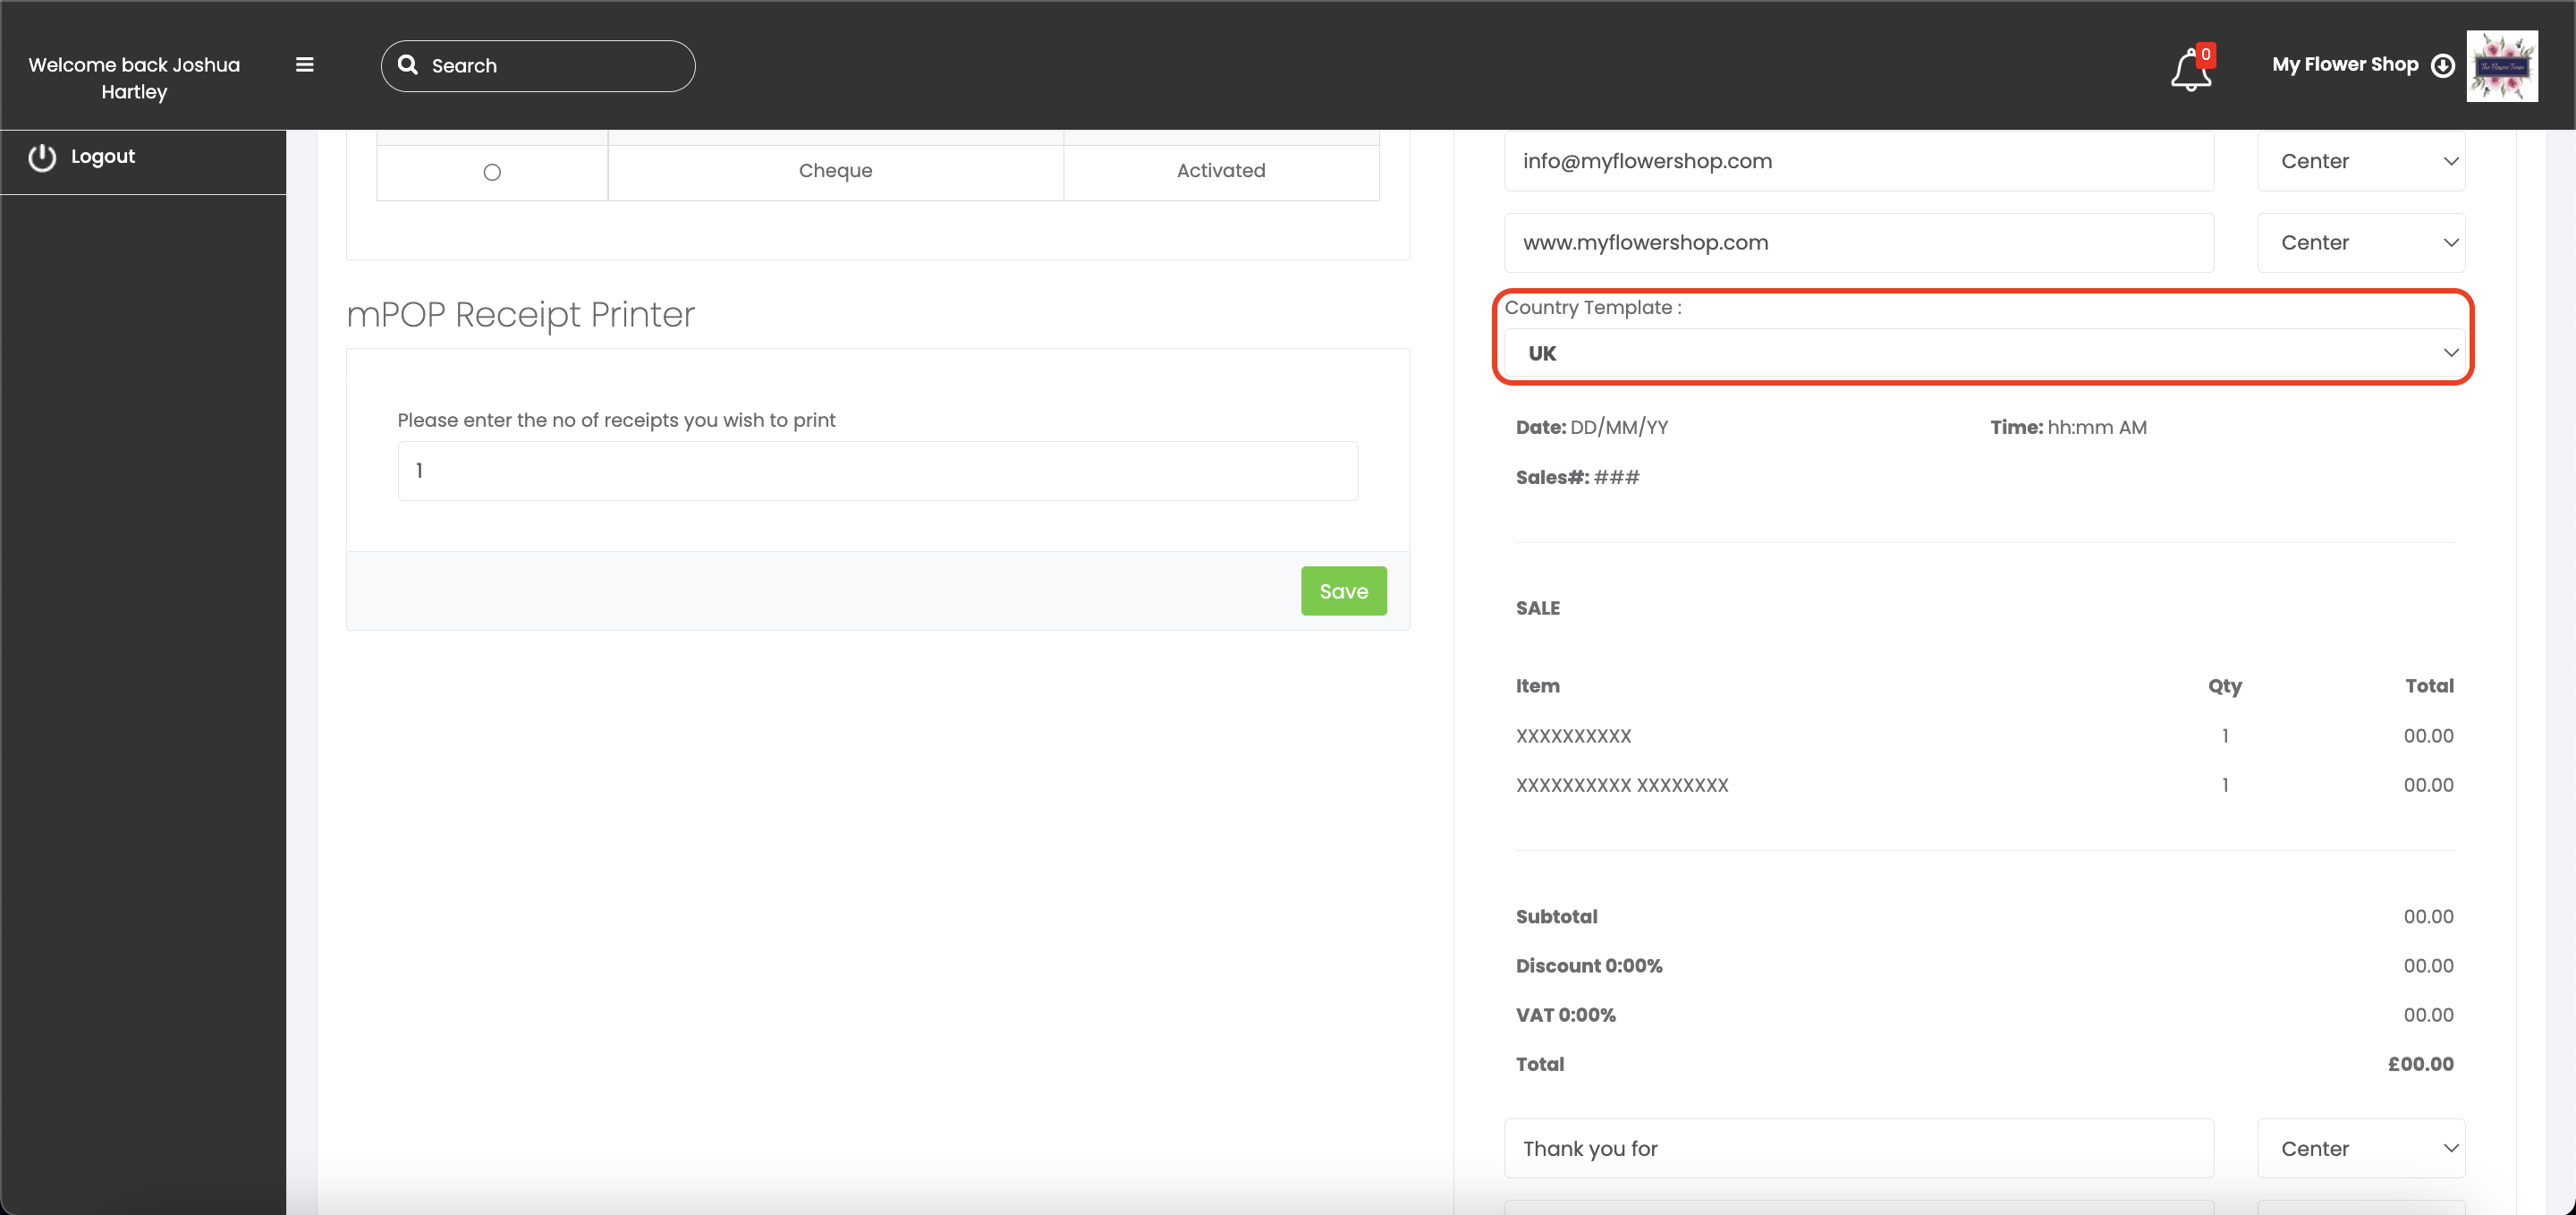
Then select your country format.


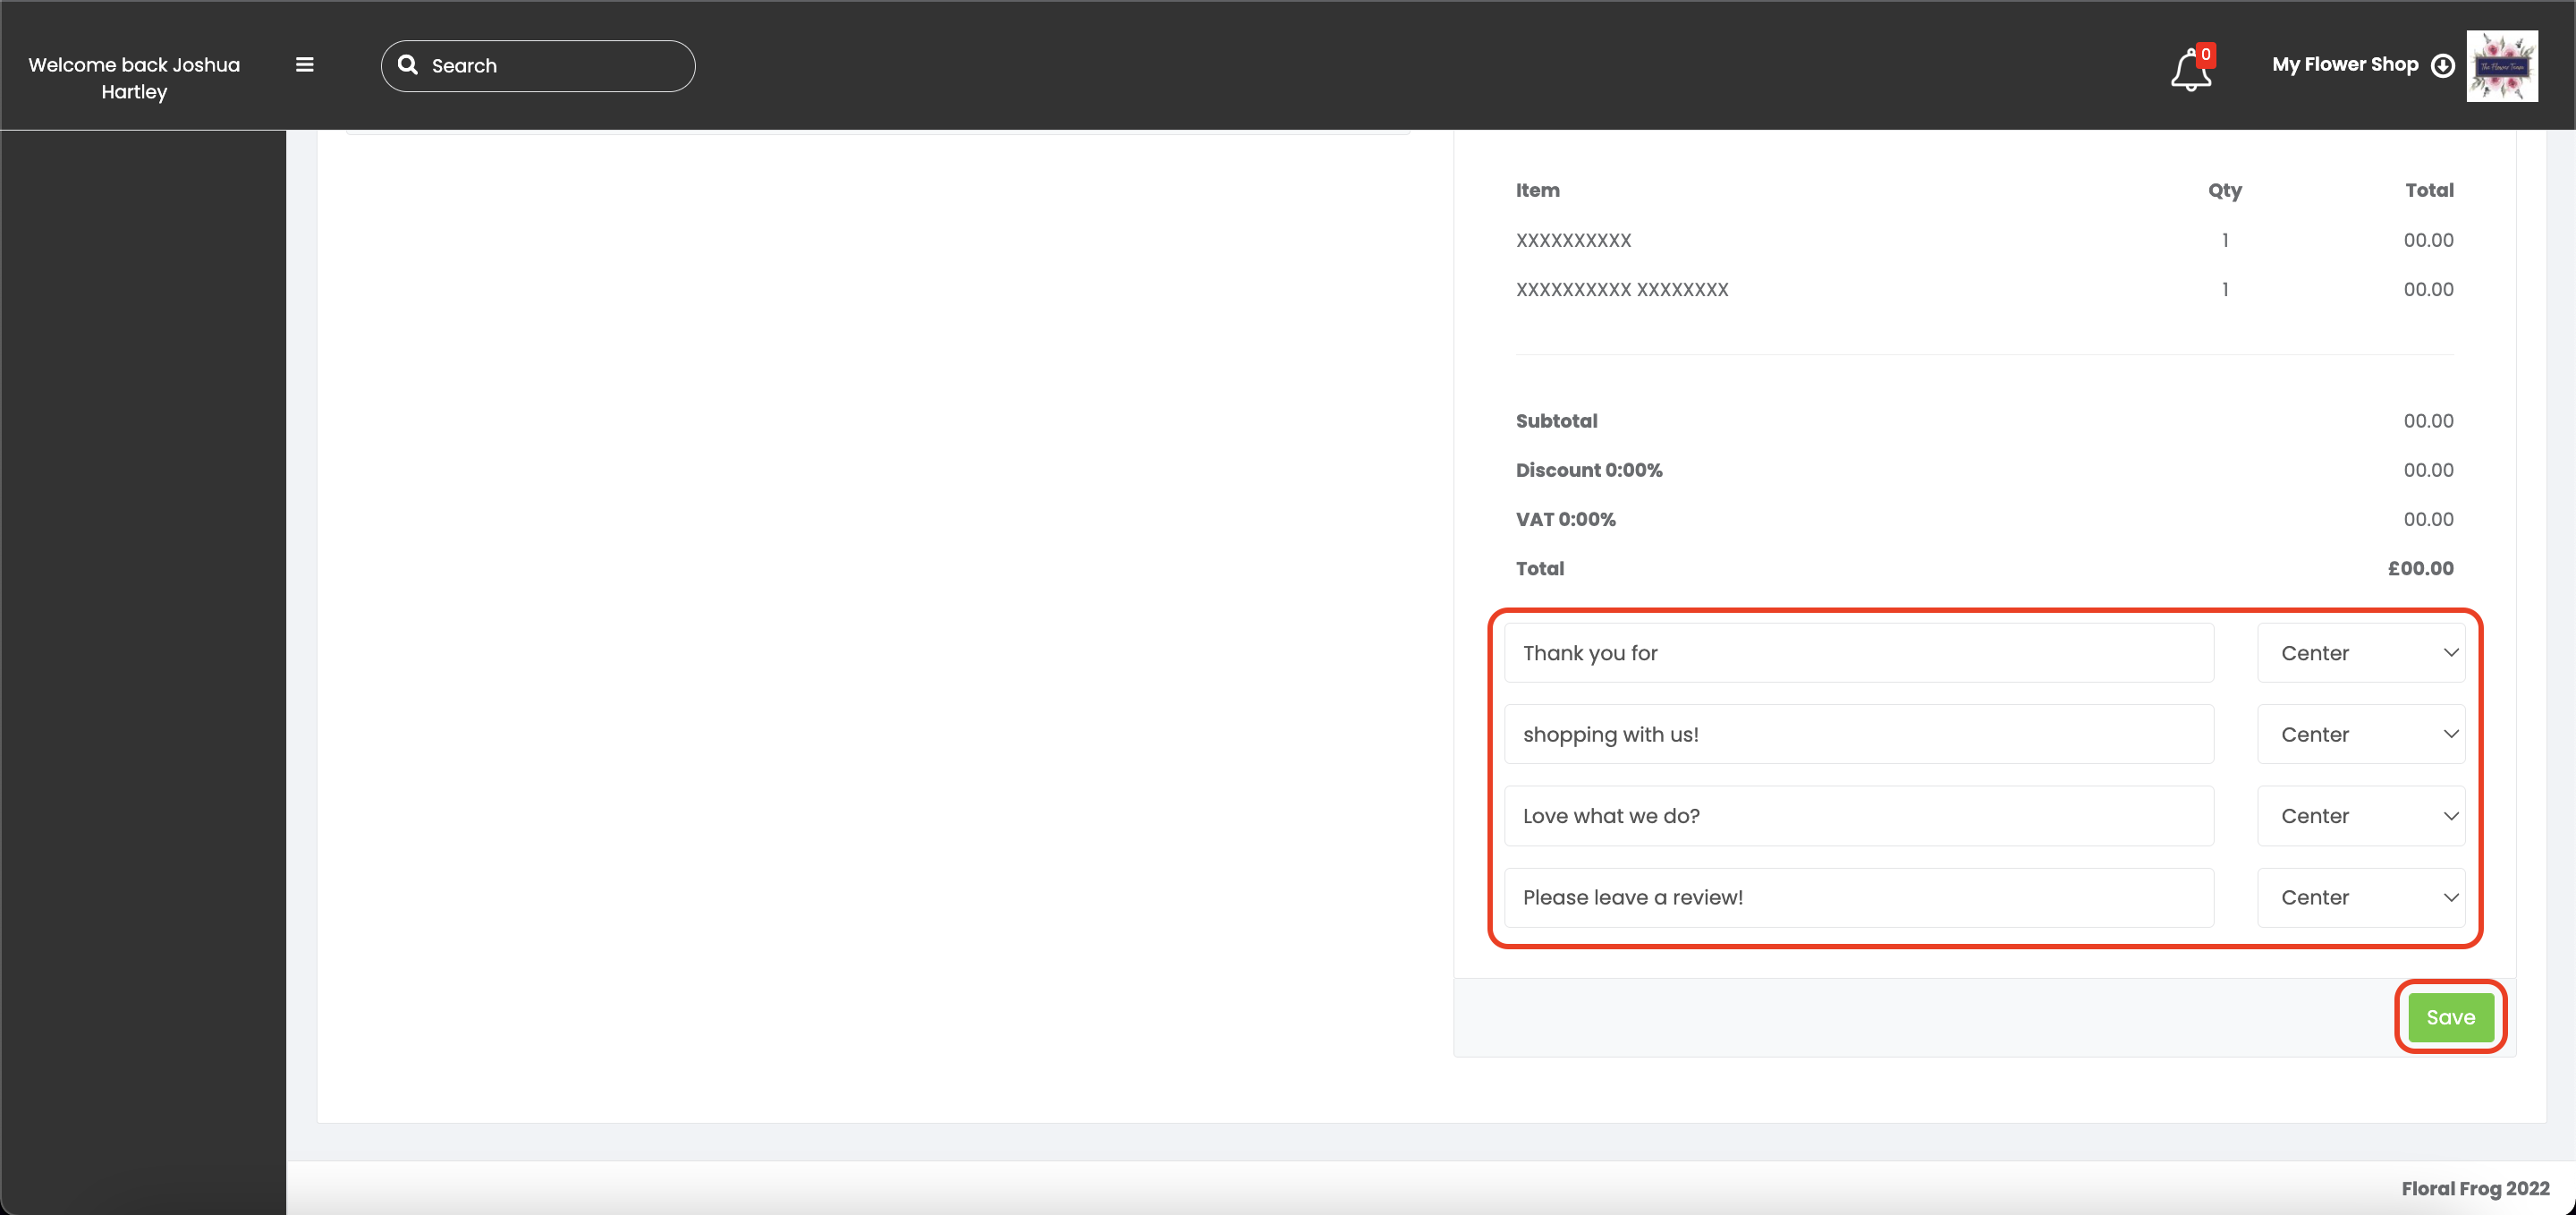
Lastly, you can enter a custom message at the bottom of the receipt, this could be "Thank you for shopping local" or even "Love what we do? Leave a review!" and don't forget to click SAVE.


Did you find this article useful?


  • Account Registration

    Requirements PC or Mac with Google Chrome web browser installed Other browsers such as Microsoft Edge, Safari, and FireFox may work but are curre...

  • Adding Products and Categories

    Adding Categories The software comes with some predefined categories that you can use (these can be seen in the image below). However,  if you do...

  • FrogPOS Installation

    FrogPOS Installation Introduction This document will guide you through the following steps: Setting up your mPOP all-in-one receipt printer and ca...

  • Adding Custom Relay Types

    Adding Custom Relay TypesFirst, go into SETTINGS > ORDER SETTINGS > RELAY TYPES and select "+ Add Relay Type".Then just type in the name of your...

  • Adding your Order Types

    Adding Order TypesFirst, go into SETTINGS > ORDER SETTINGS > ORDER TYPES and select "+ Add Order Type".Then just type in the name of your order ...