There are two ways of adding a new order into the system. From the back office or from the FrogPOS. For the back office guide, please click here.
Open the order form.
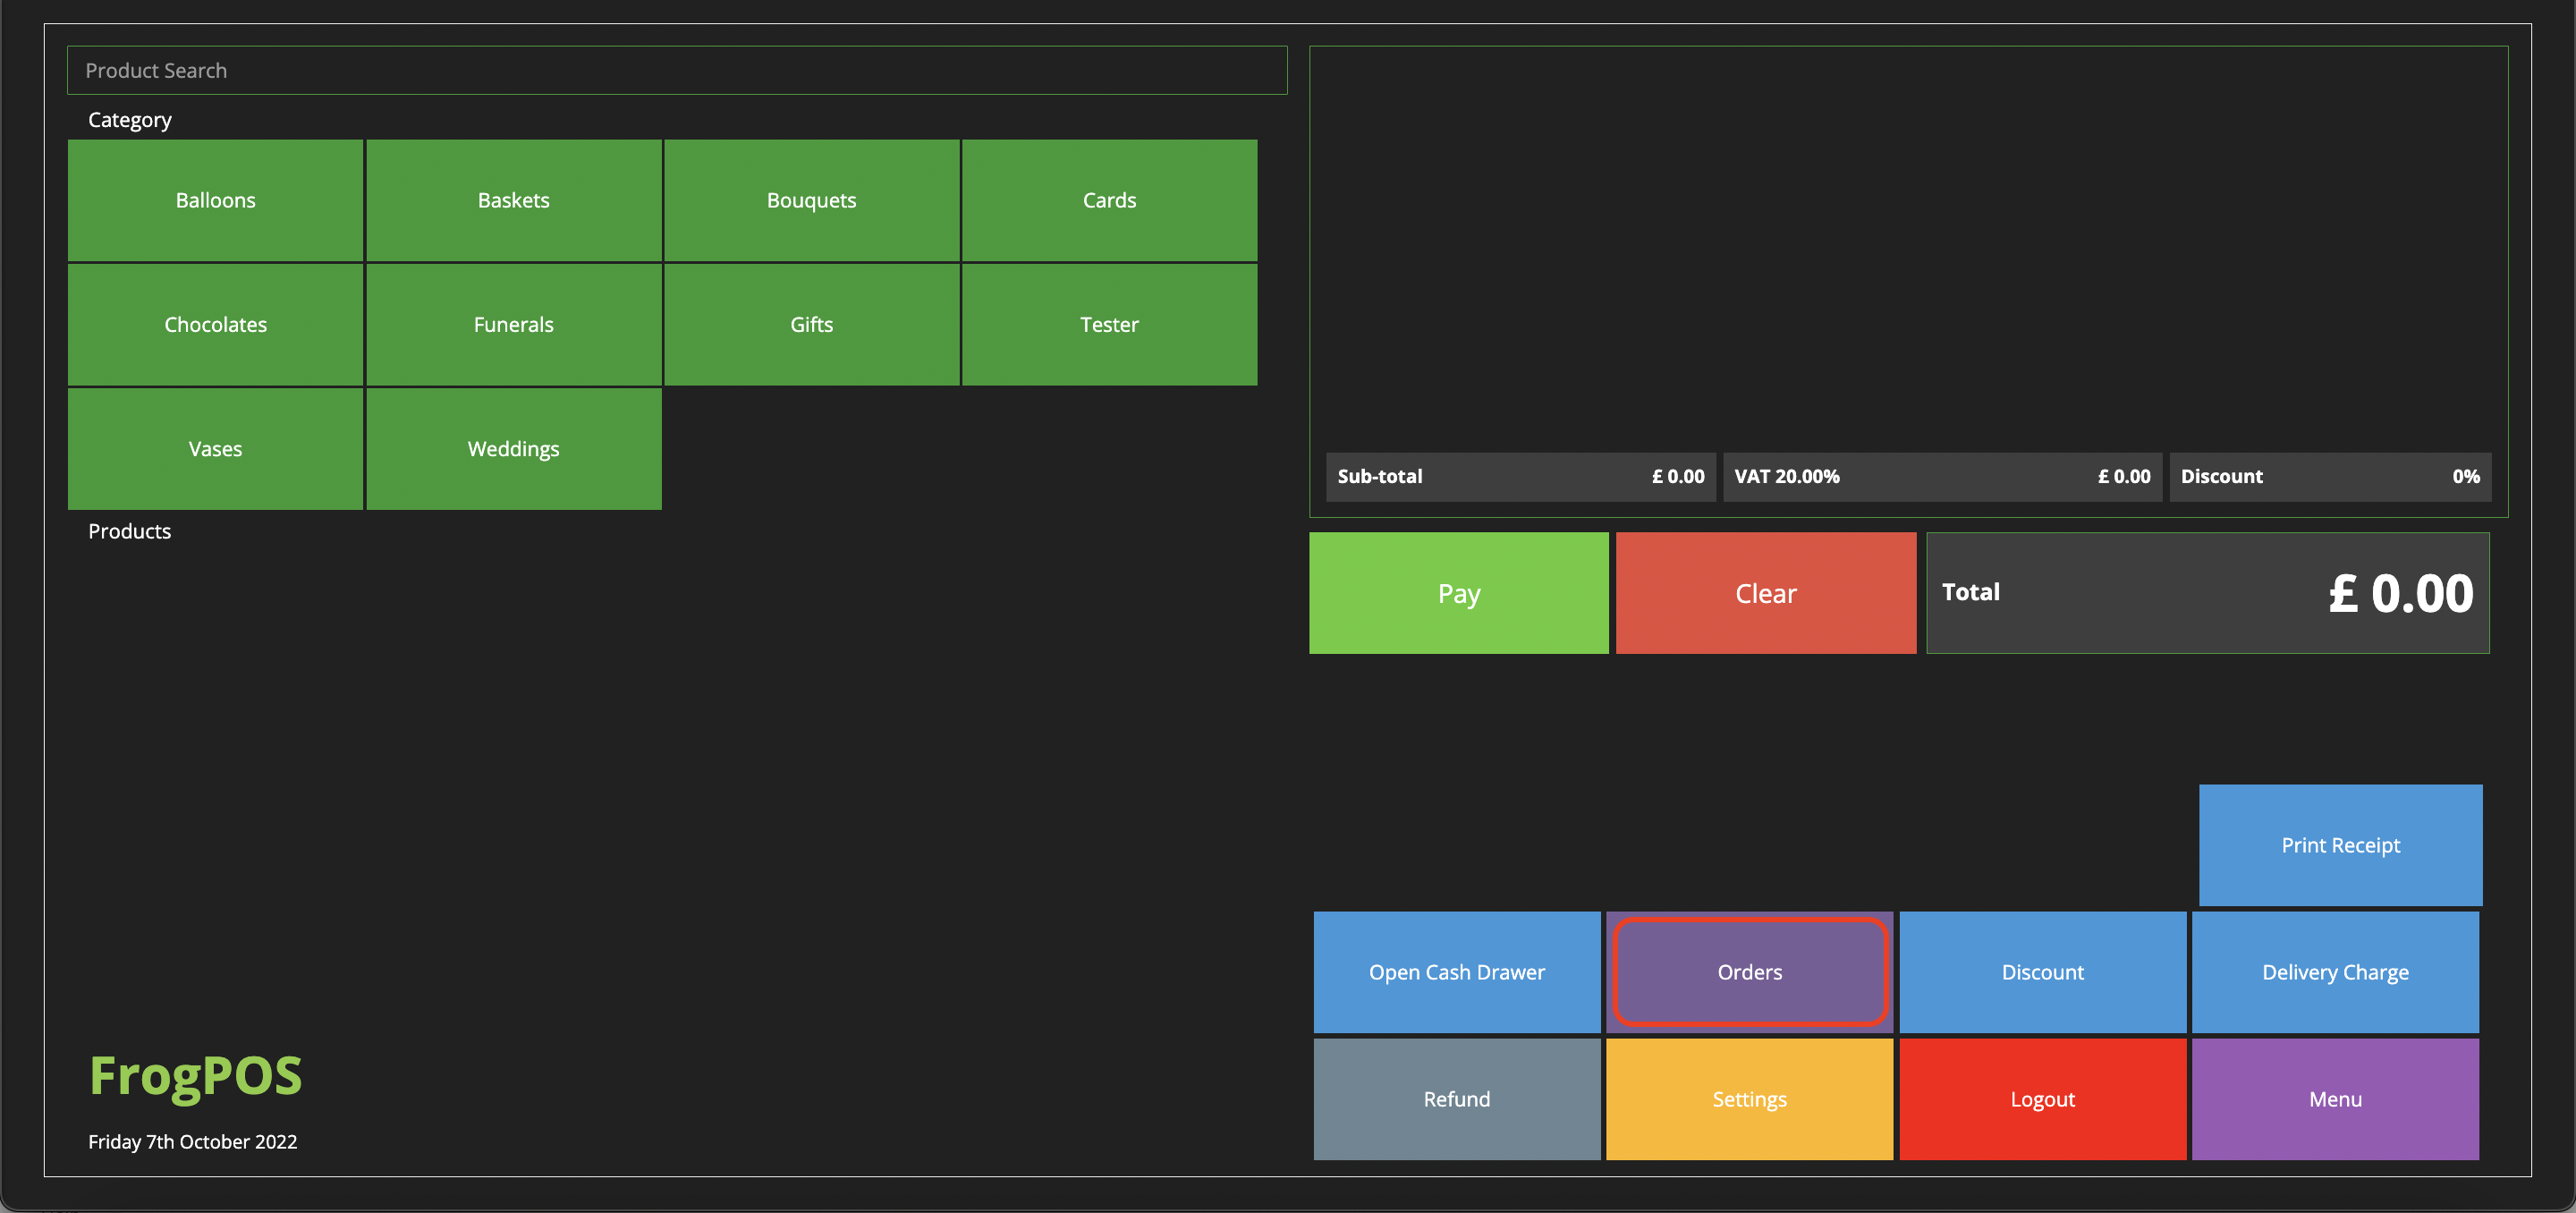
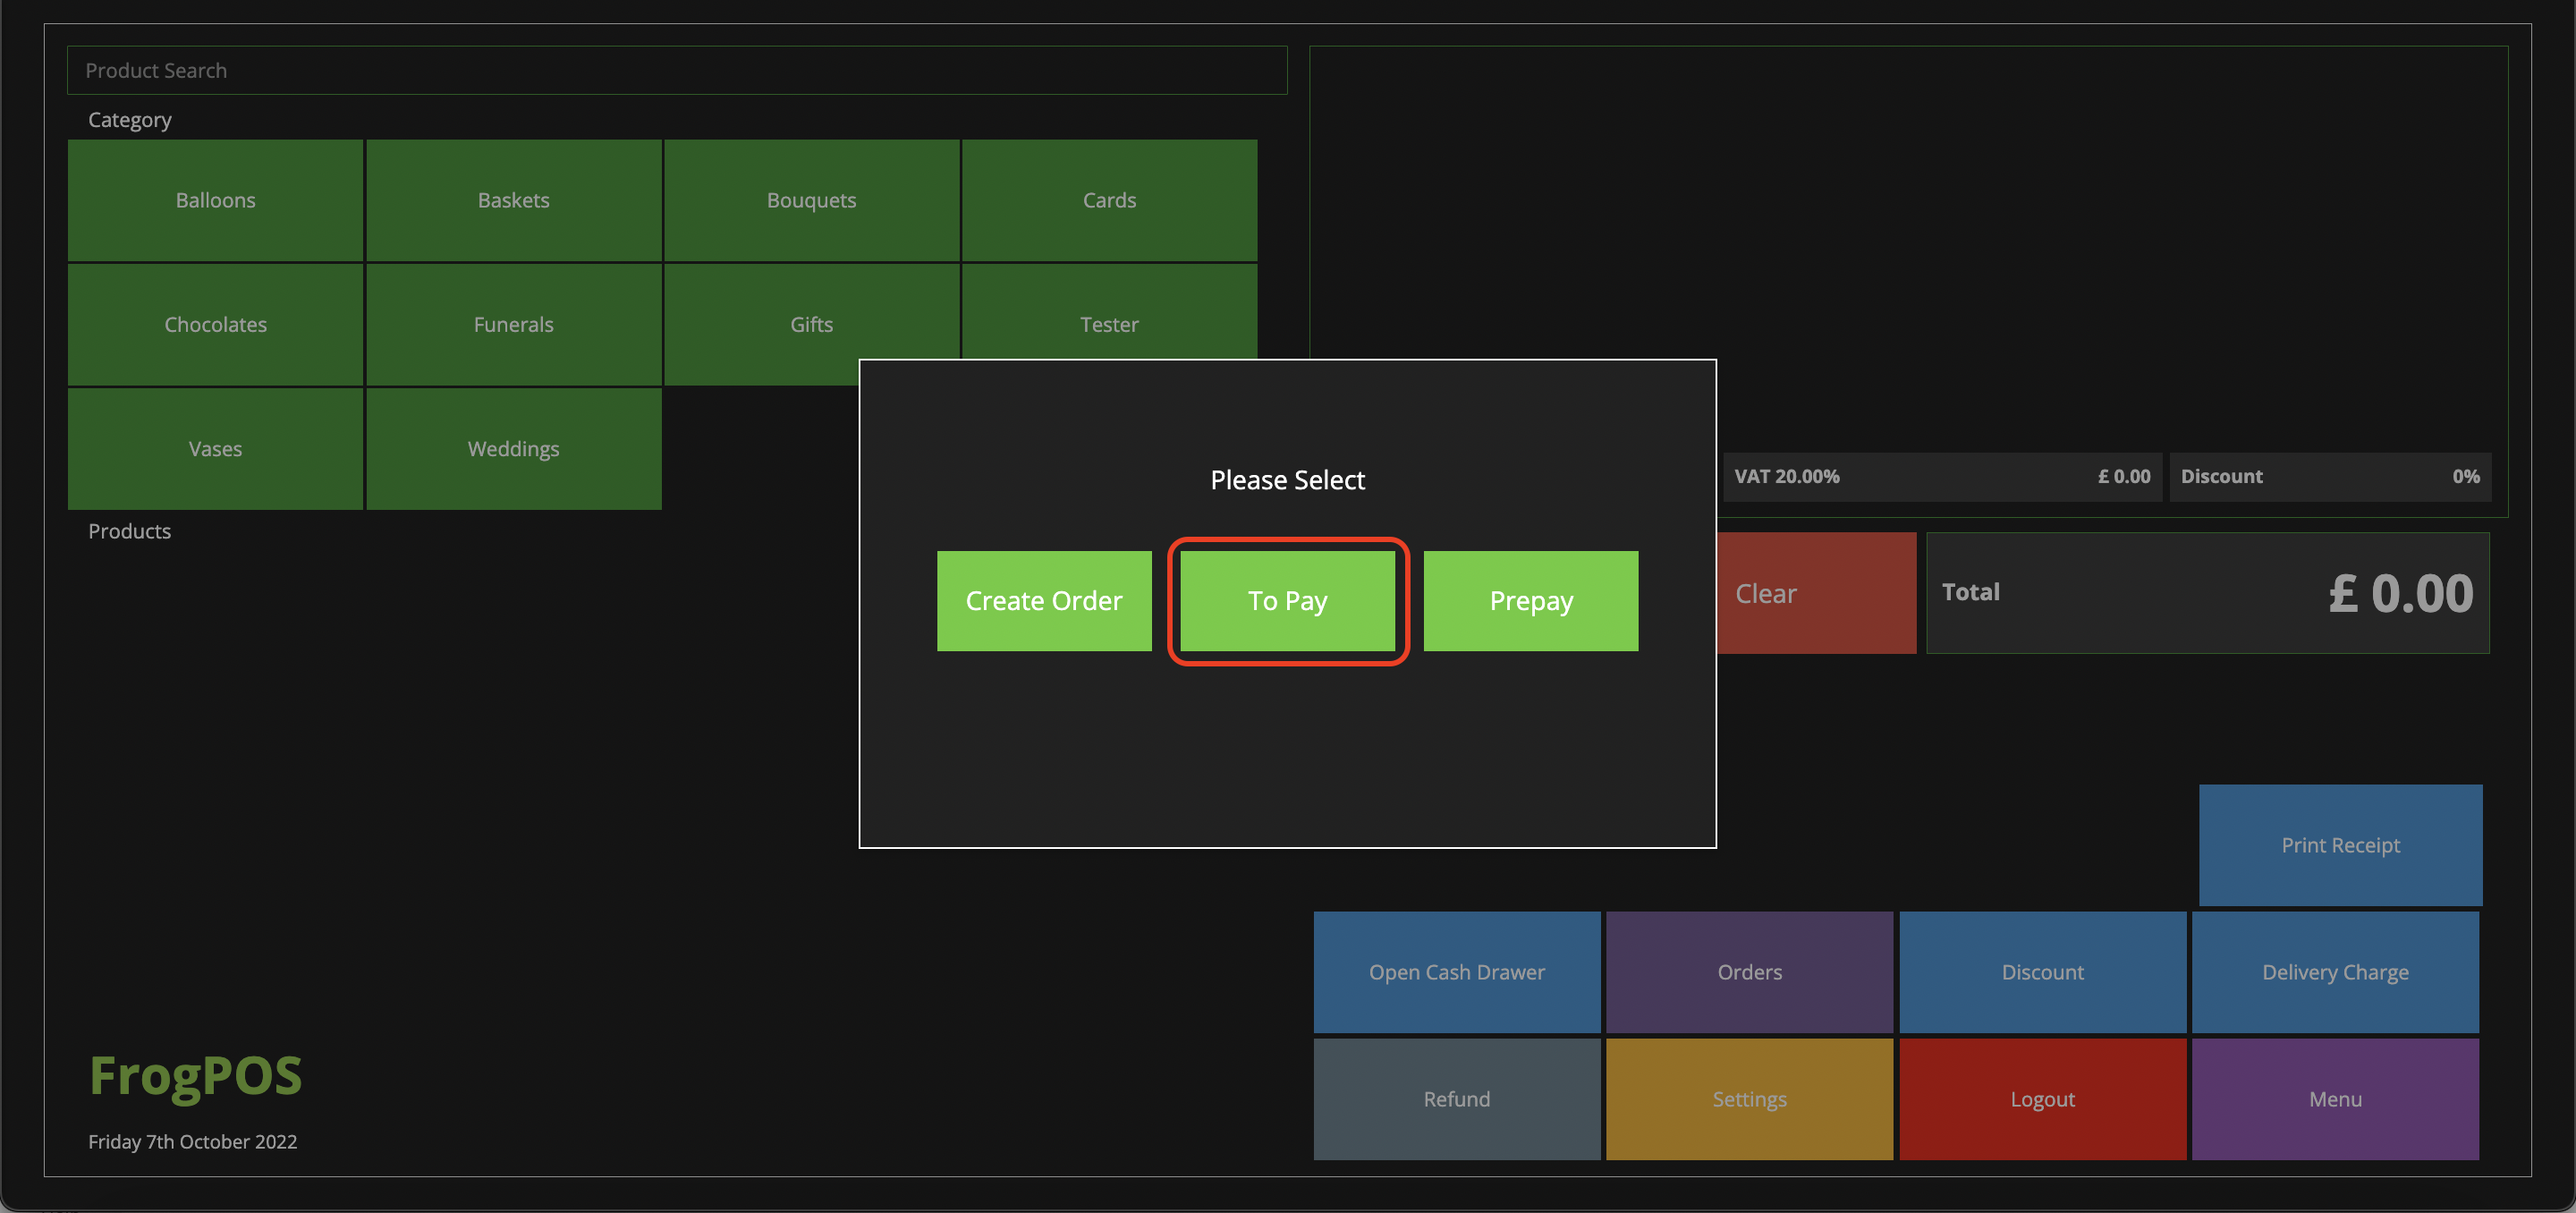
In the FrogPOS, click on the purple ORDERS button and select CREATE ORDER.
Select the type of order you want to create.
There are 4 predefined order types; Flower, Funeral, Wedding, and Gift. You can also add your own custom order types, for example Planter Order, Cake Order etc. For a guide on how to do this, please click here.
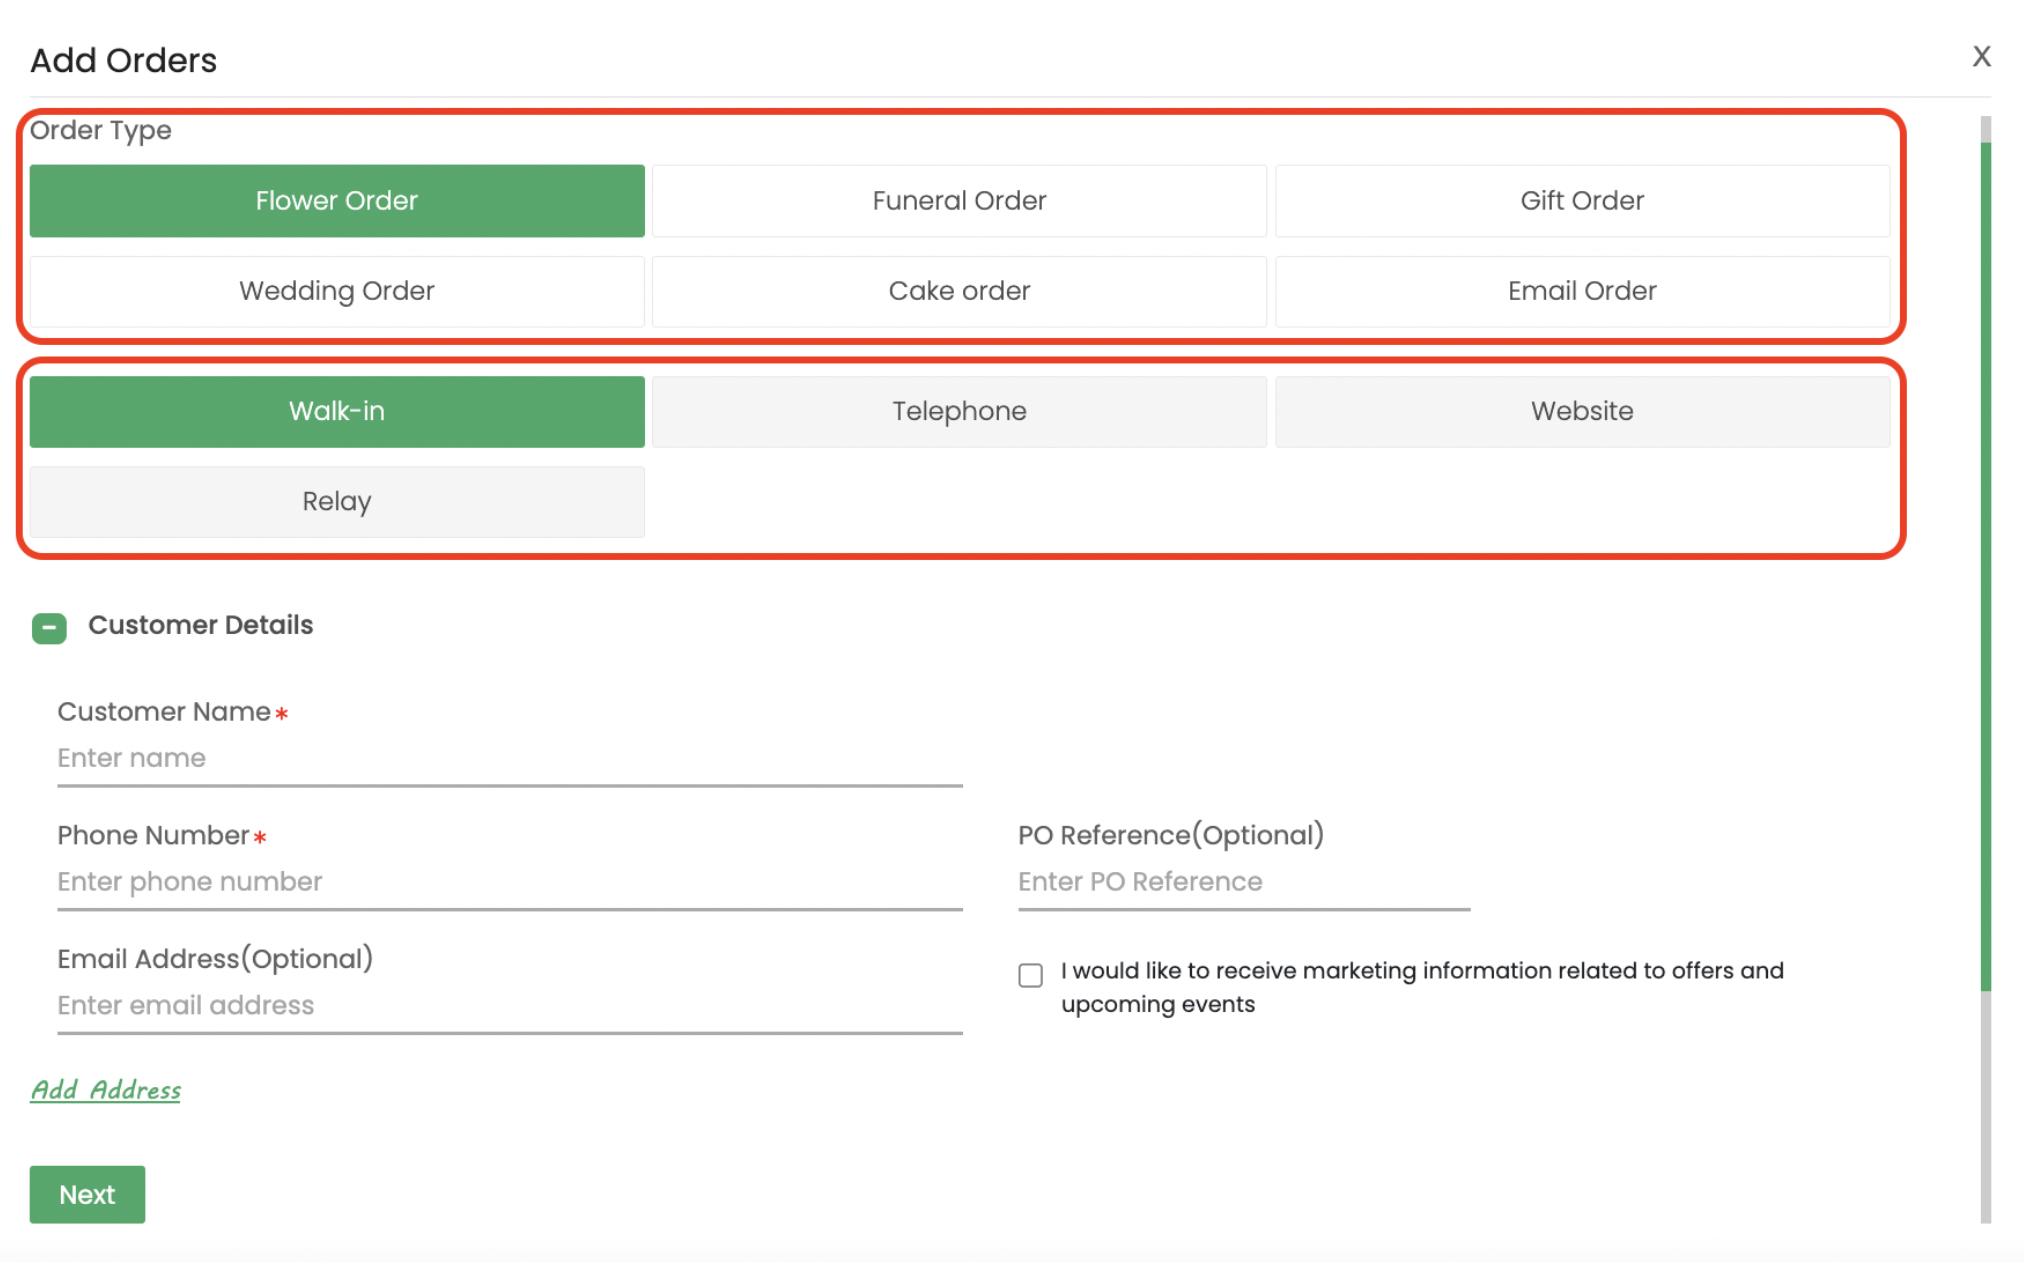
There are also 4 order origin options; Walk-in, Telephone, Website, and Relay. These help with calculations of order and sales numbers from each origin, which can be found in the dashboard.
Fill in your customer's details.
Your customers name and number are both required, email and address are optional. Adding in your customers email will allow them to receive an email confirmation with a copy of their order as well as a follow up email one the order is marked as complete. Email is also required should they wish to receive an Invoice.
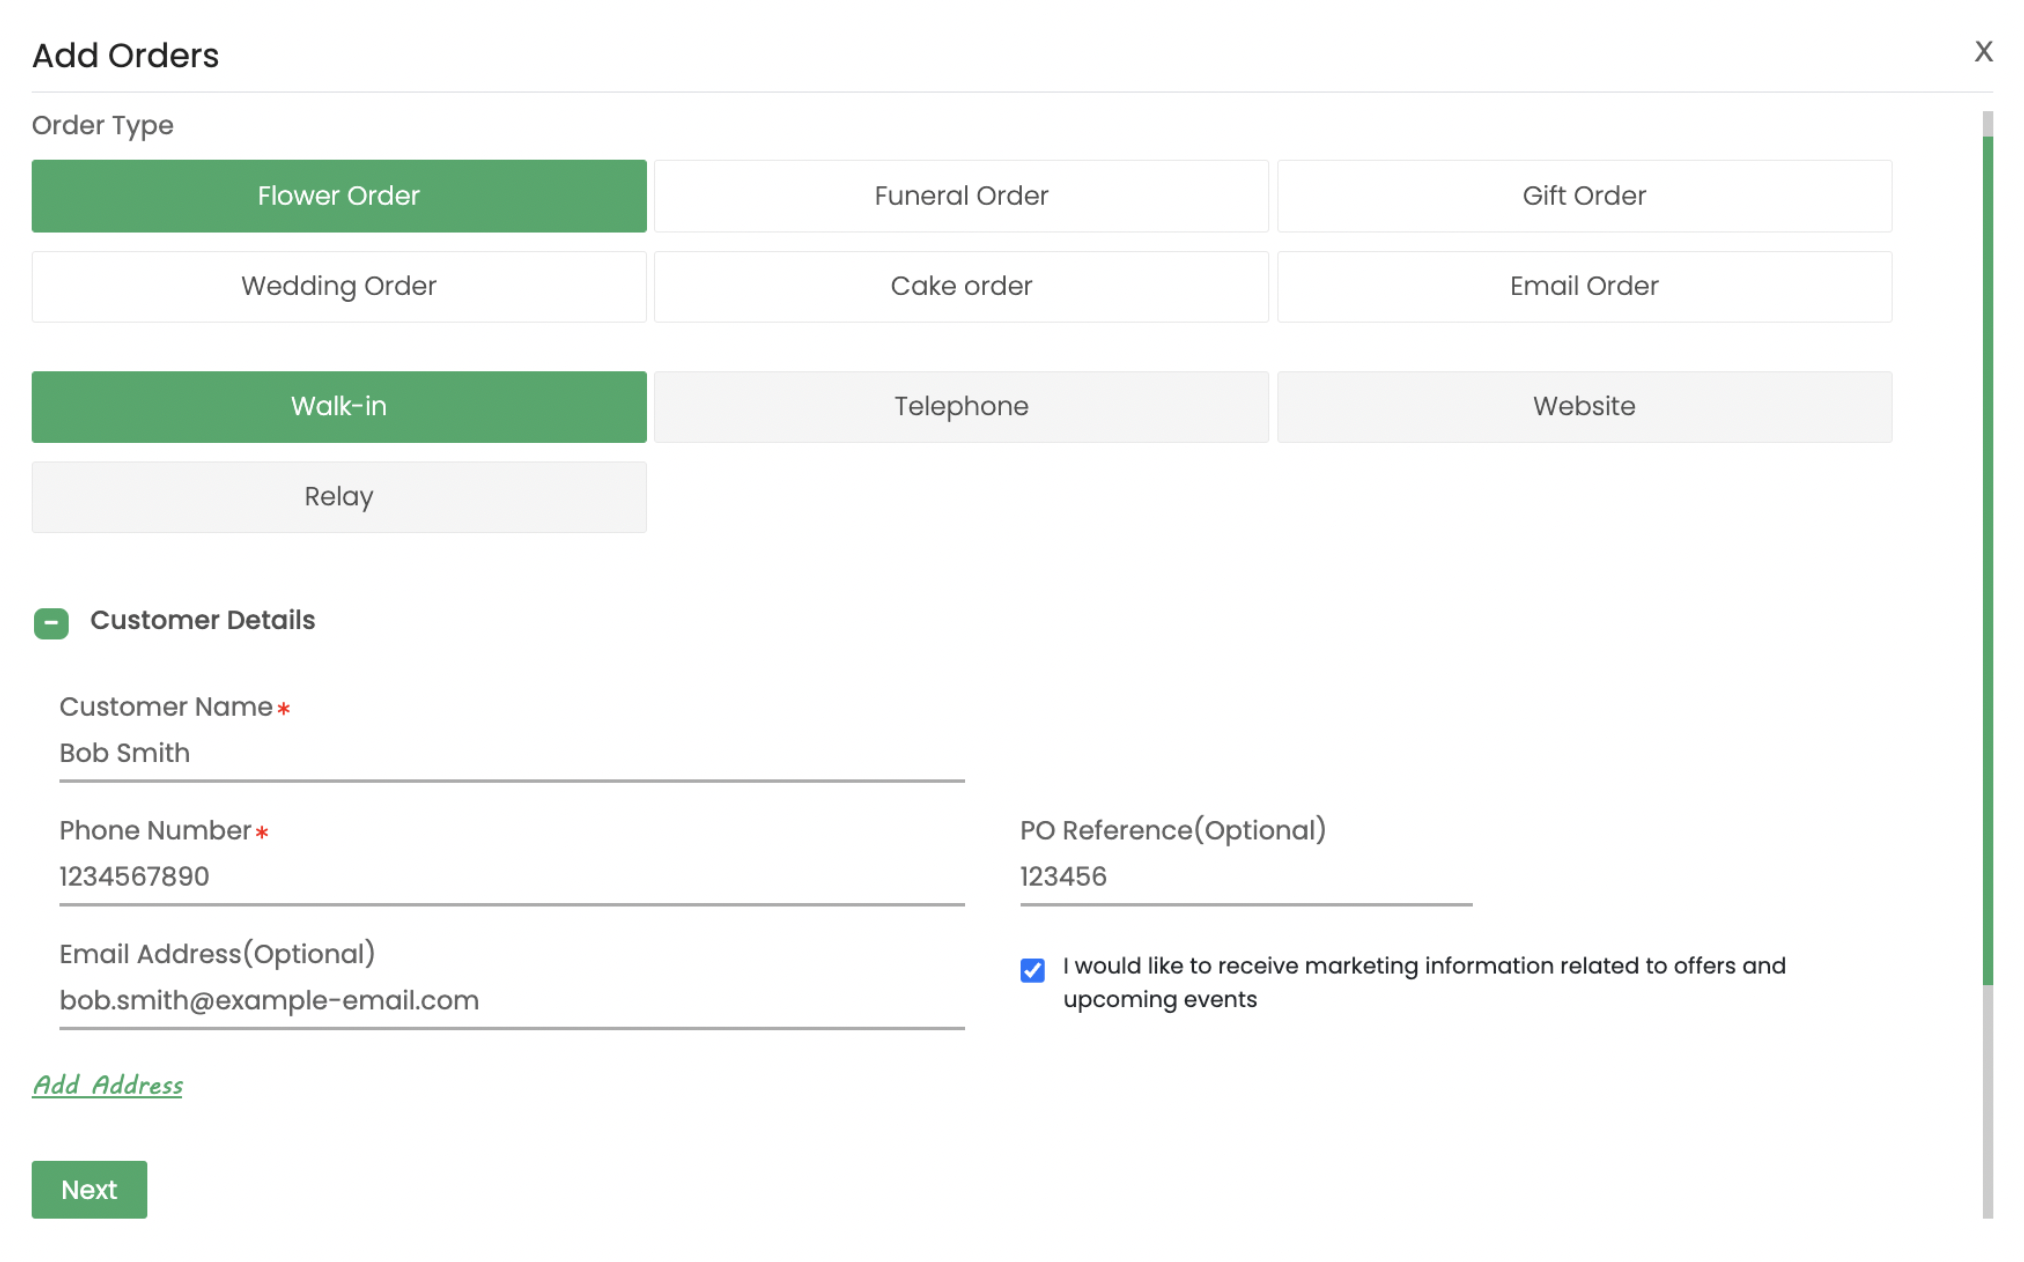
If your customer would like to receive marketing emails from you, you can tick the box and they will be added into the marketing tab in contacts.
If your customer requires a PO number for their accounts, you can also enter this which will appear on the invoice.
Fill in the delivery/collection details.
Select whether your order is for delivery or collection and add the date and time slot it is being ordered for.
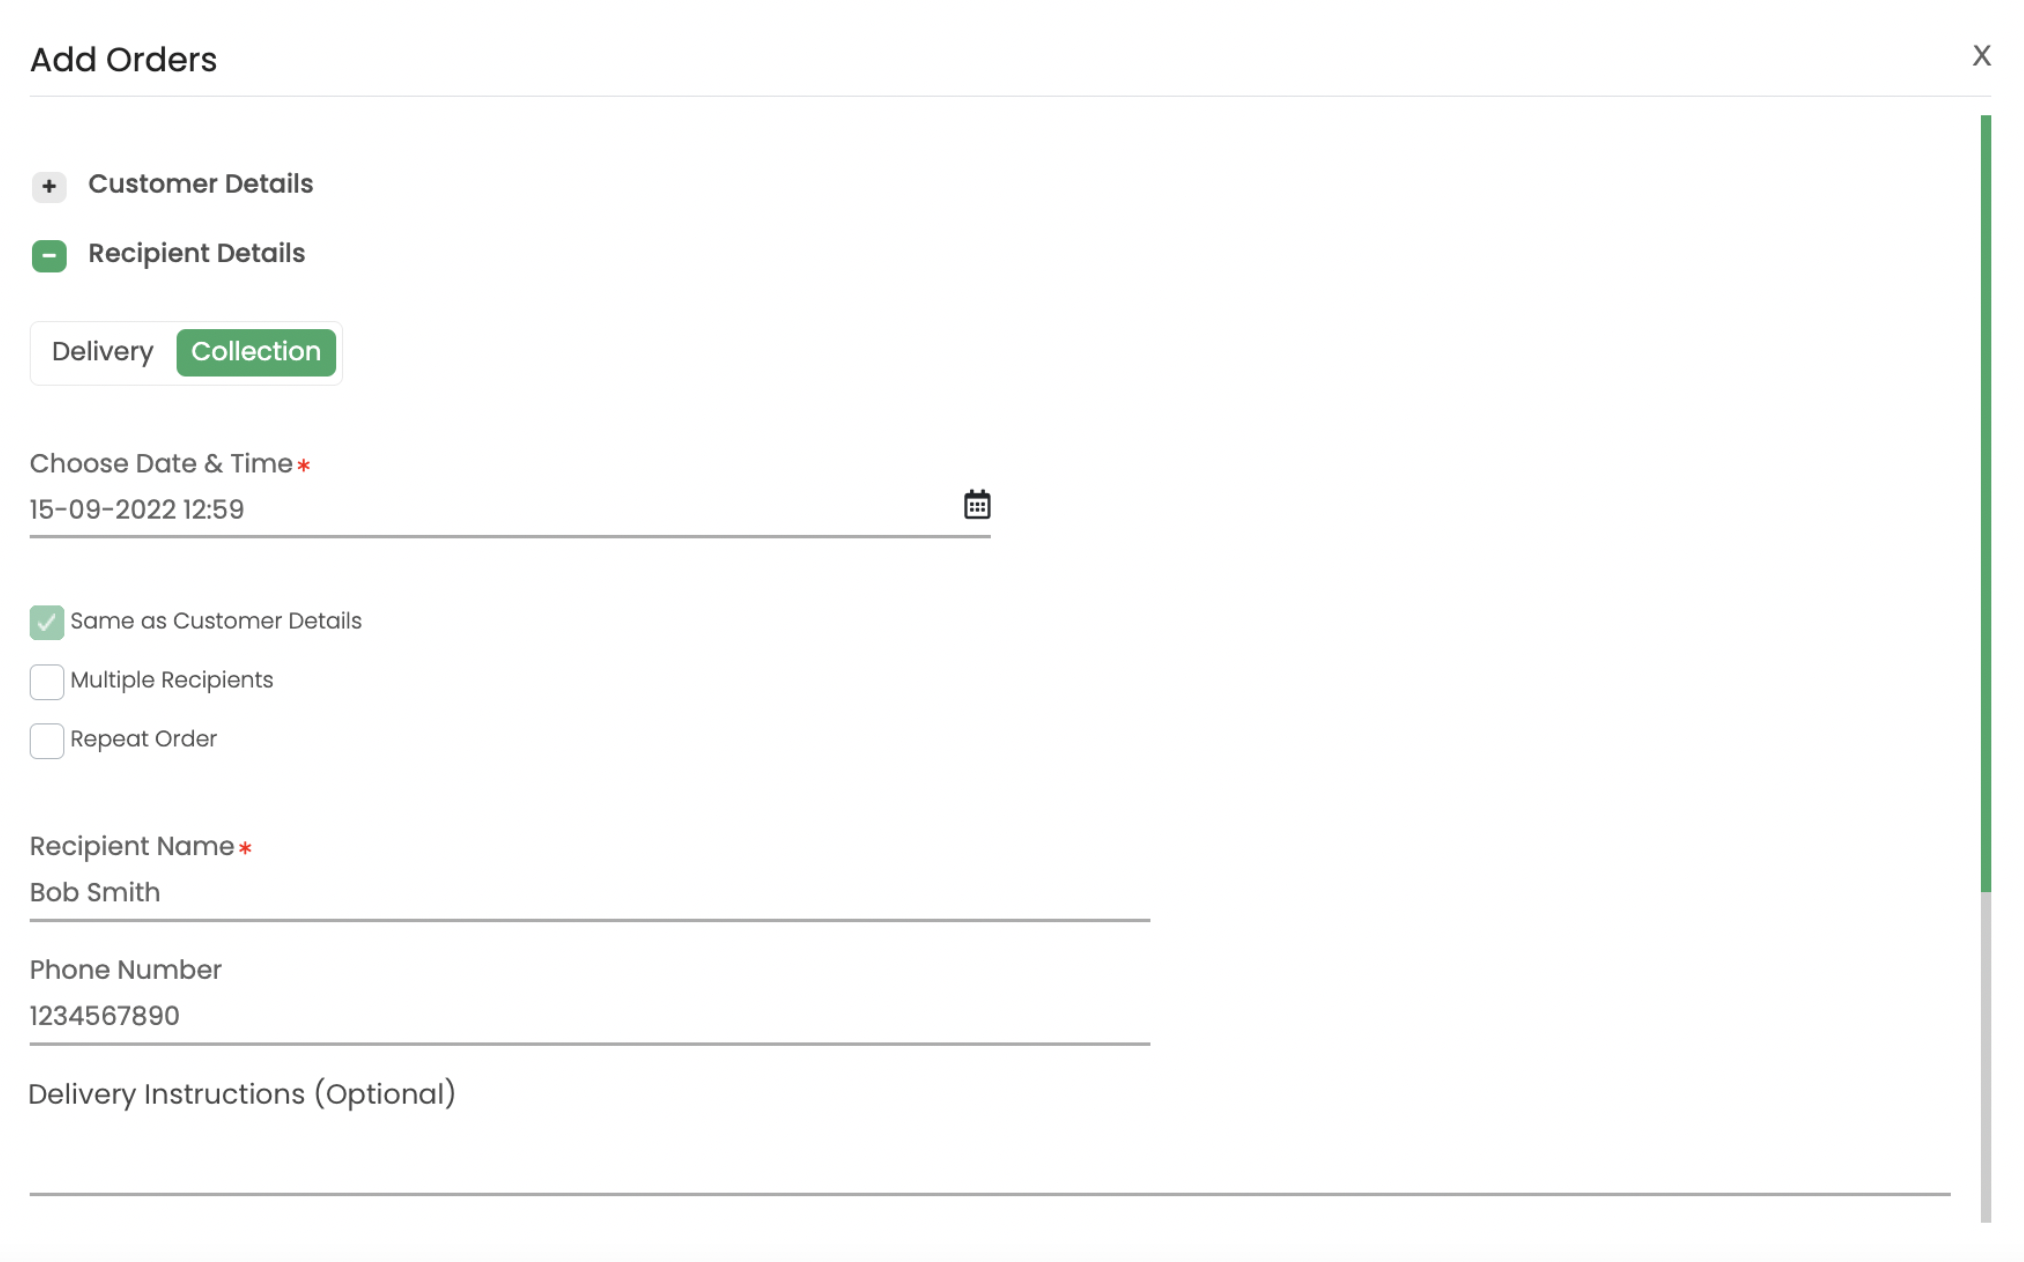
Add your recipient's name and phone number (optional). If the recipient is the same as your customer, just click Same as Customer Details. Use Search Address to find your recipients address. This can either be done by typing in their postcode or the first line of address. And lastly fill in any delivery instructions.
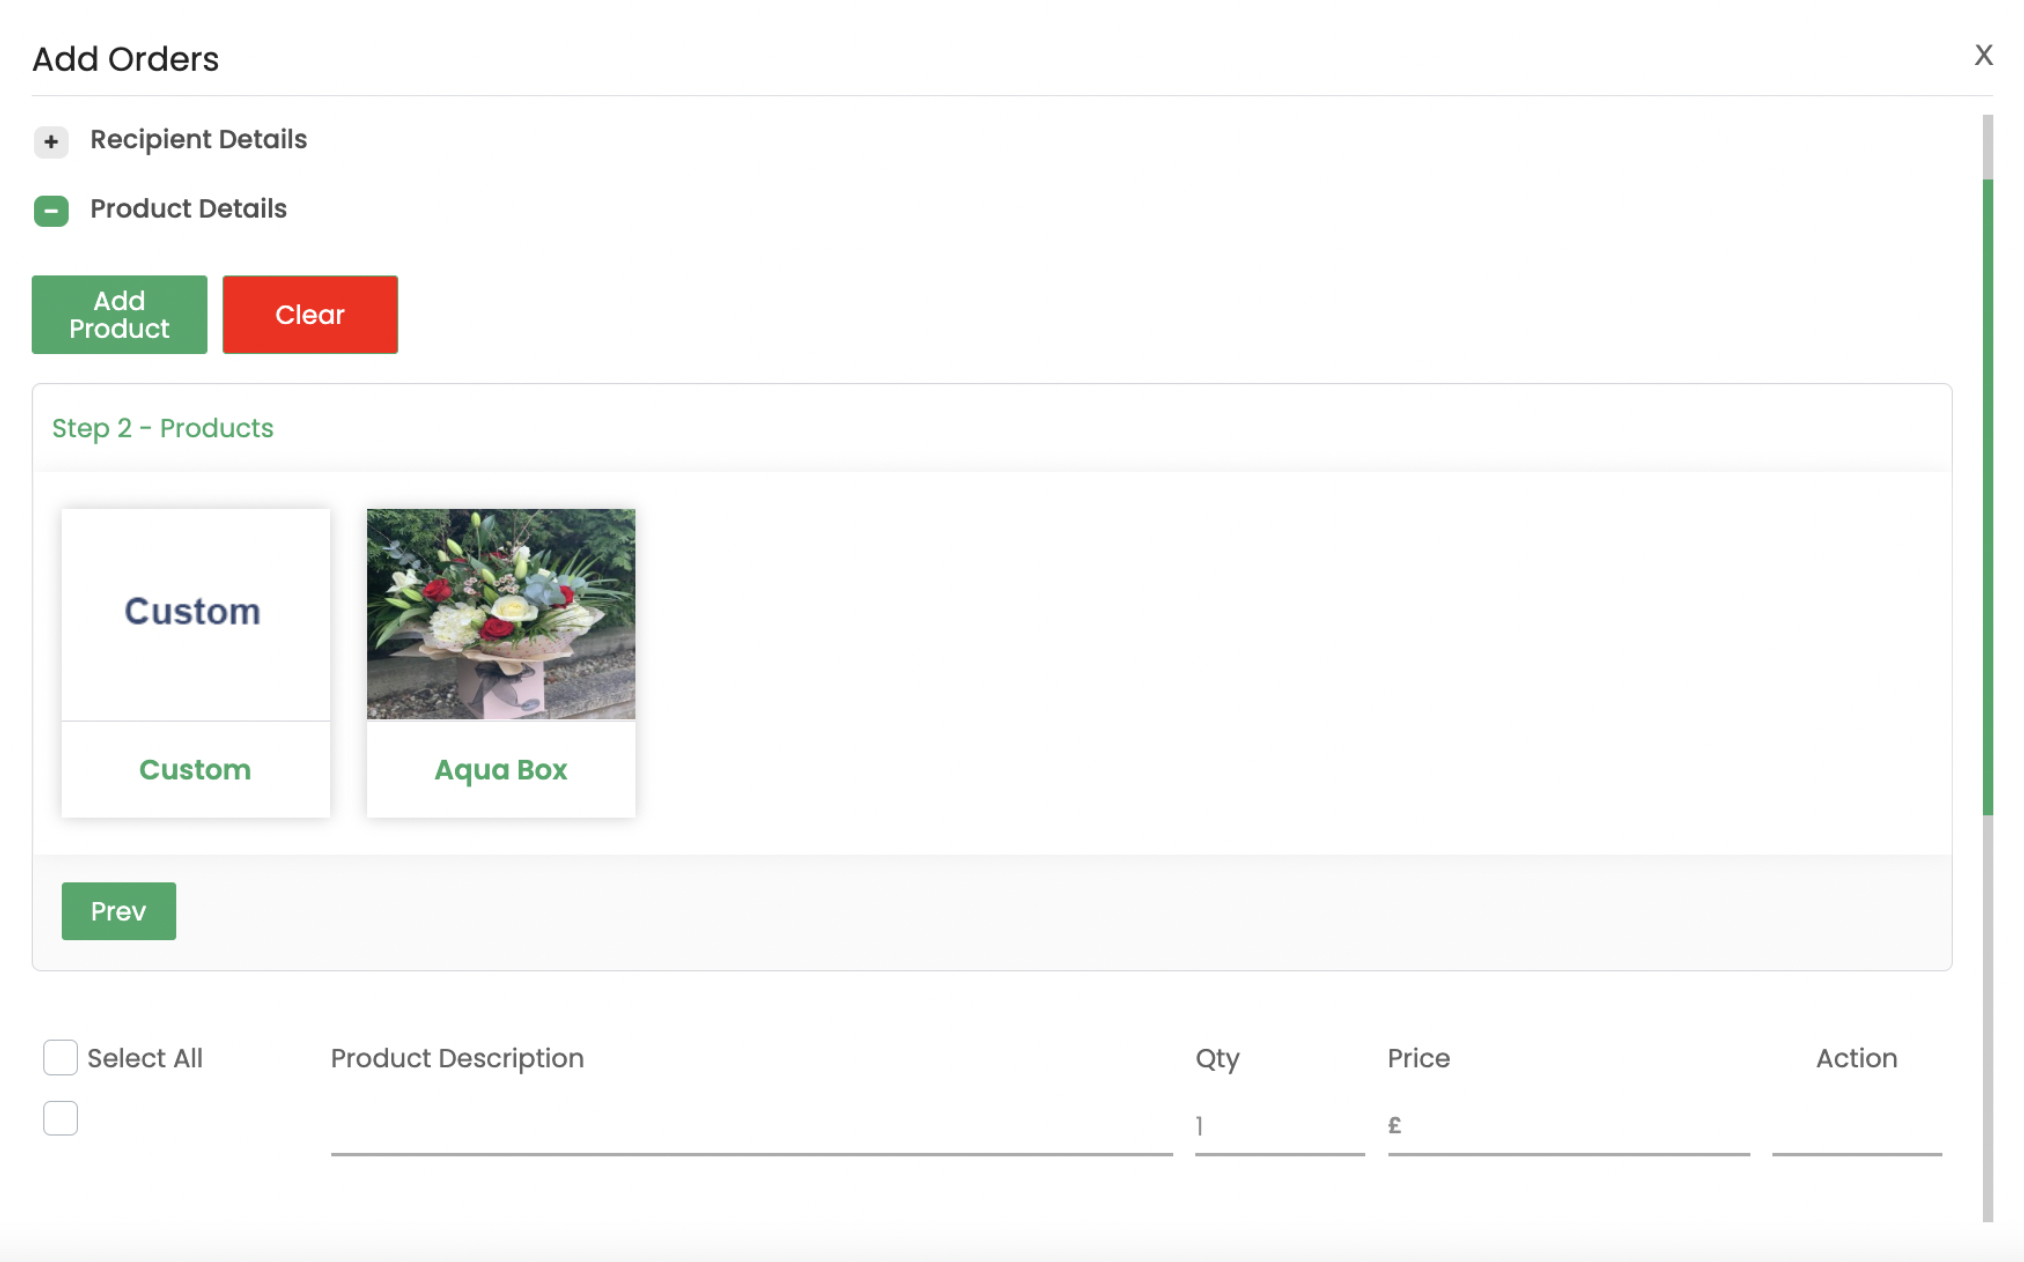
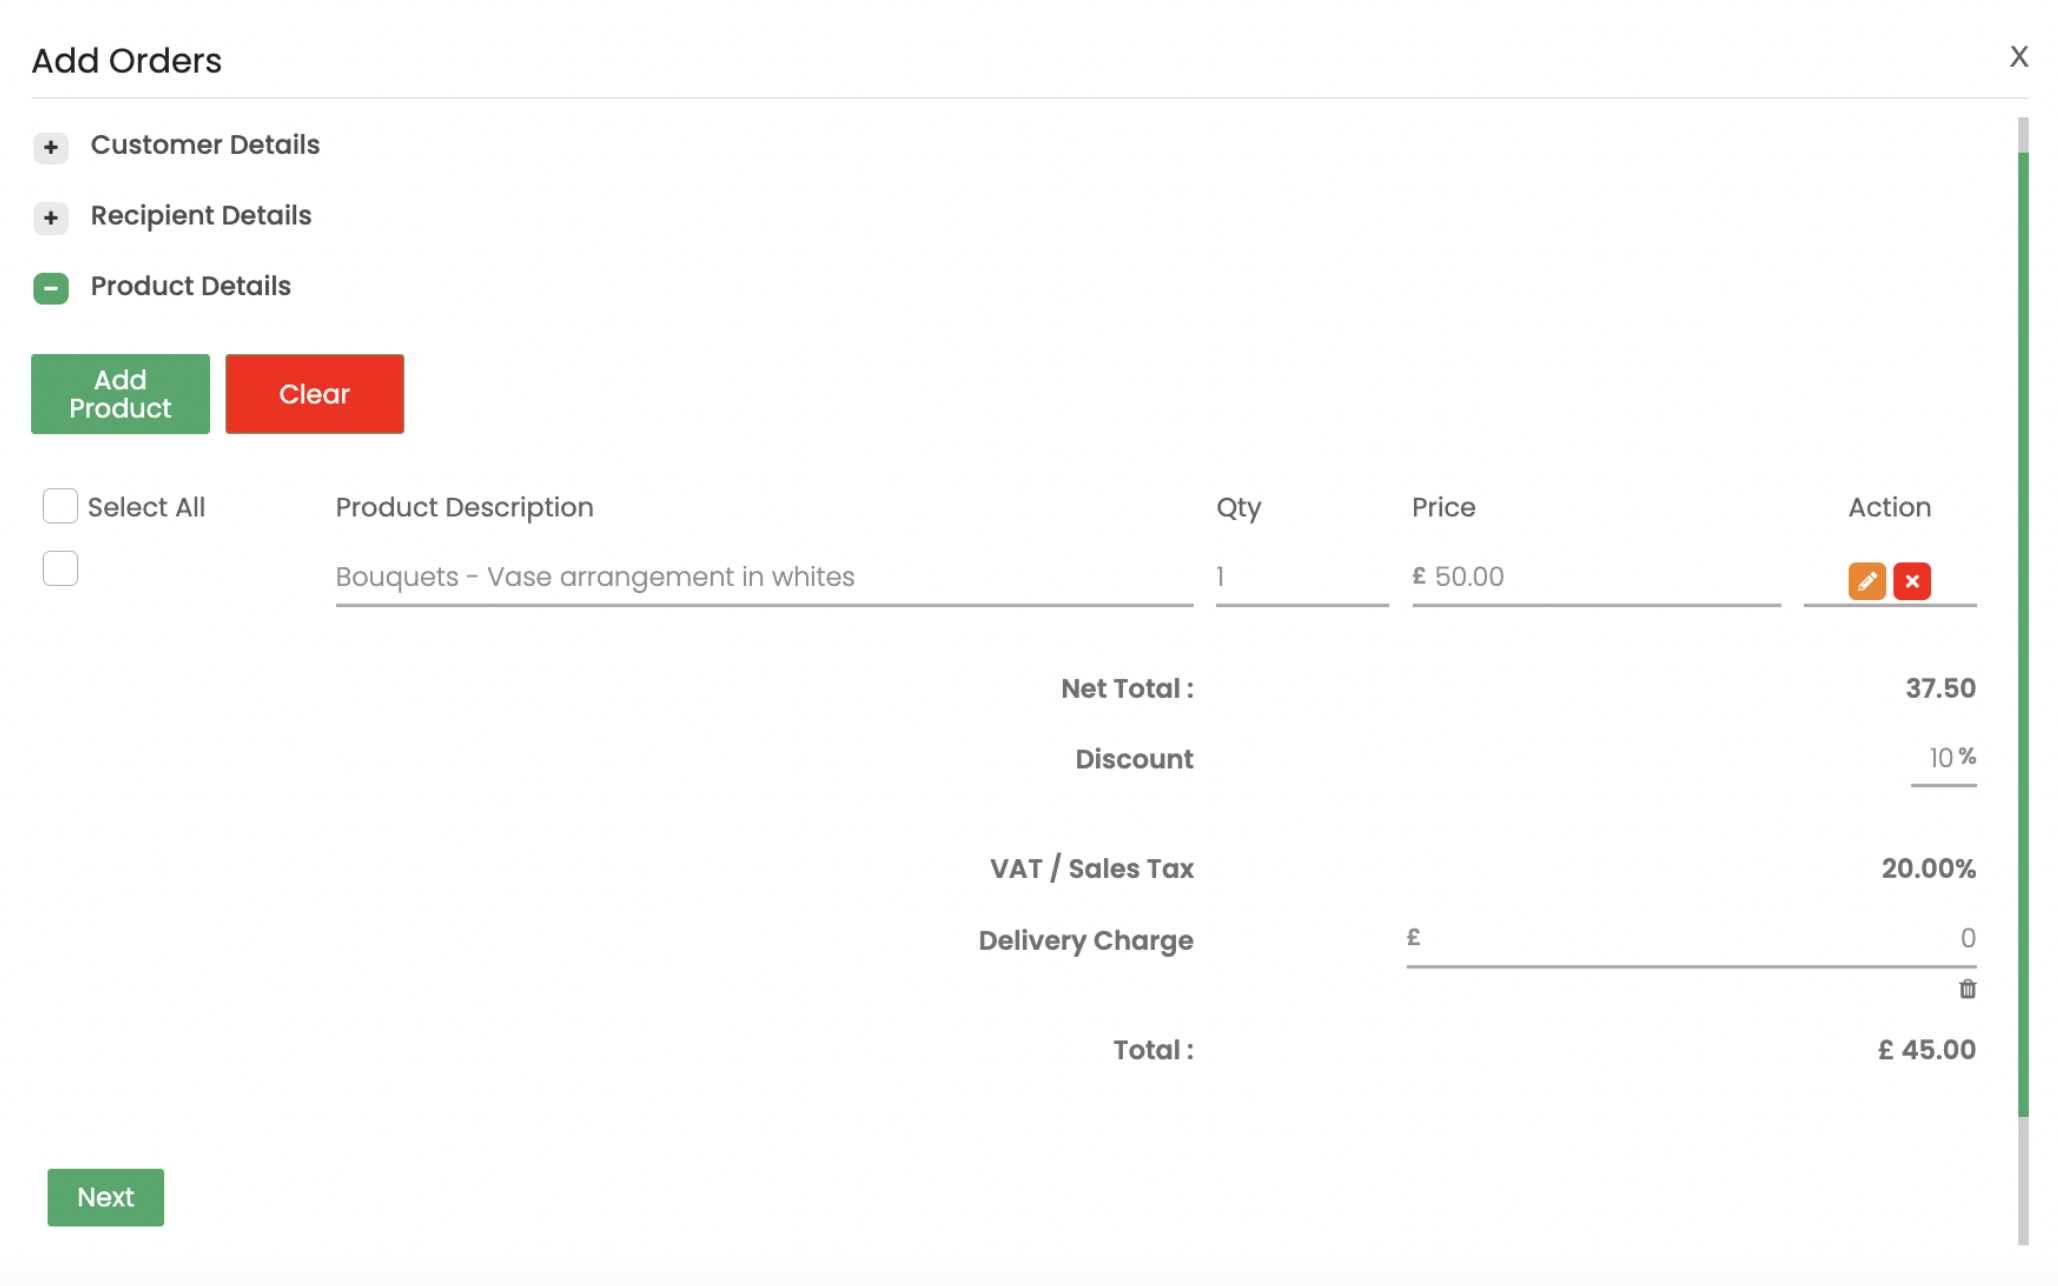
Select your products.
Select Add Product and chose your product category. You can then add your Pre-Defined products, or you can click add a Custom Product.
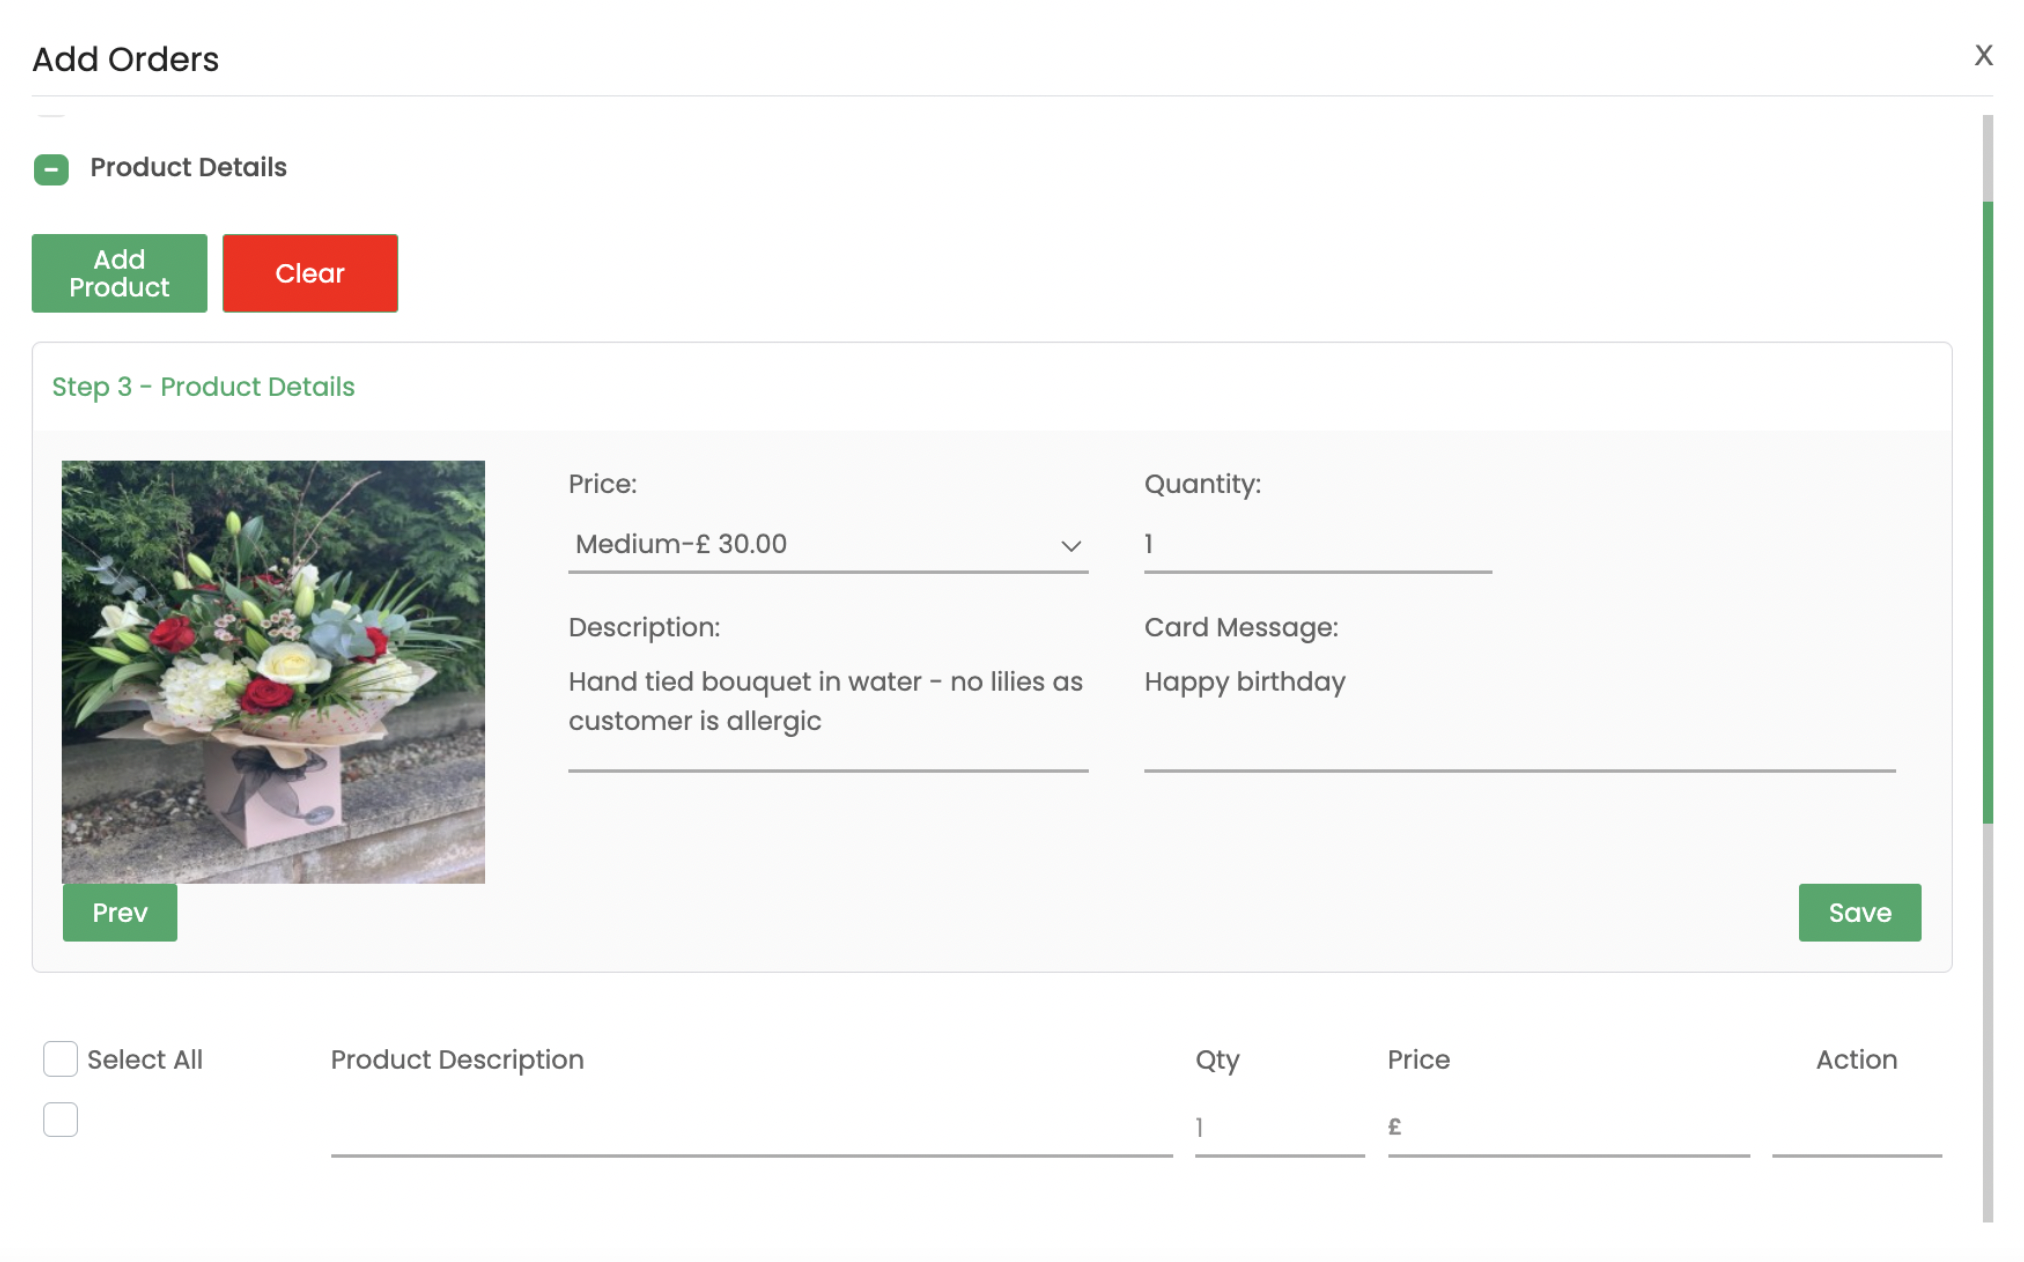
For your pre-defined products, select your price (if applicable) your quantity, and add in any instructions and a card message.
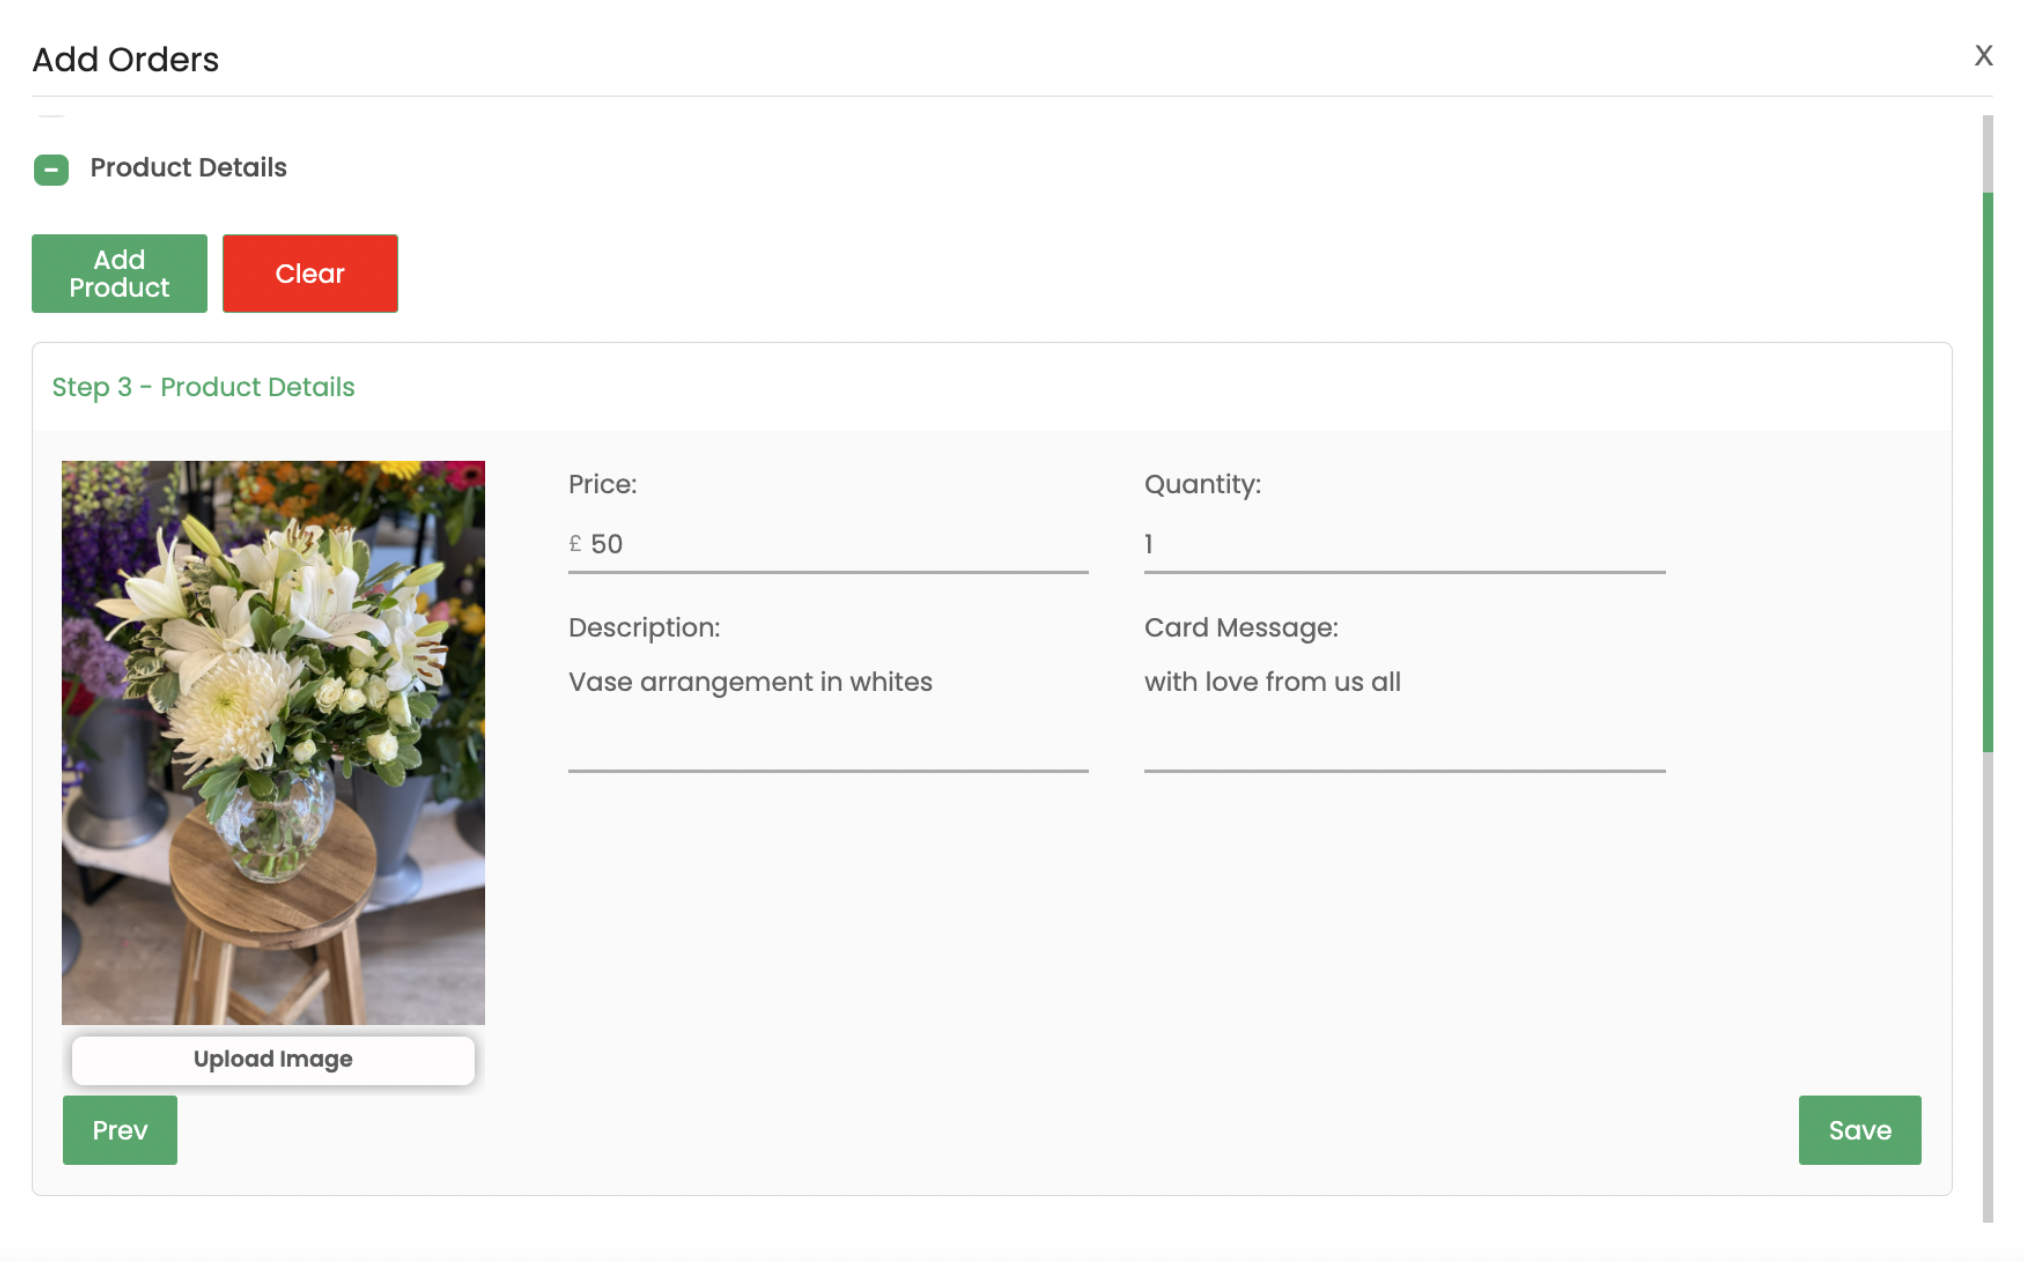
For custom products, enter your price, quantity, description, add a card message, and upload a product image (optional).
Then just add in any delivery charges or discounts that may apply.
Process payment.
Select weather you would like your customer to receive an email confirmation and/or an invoice.
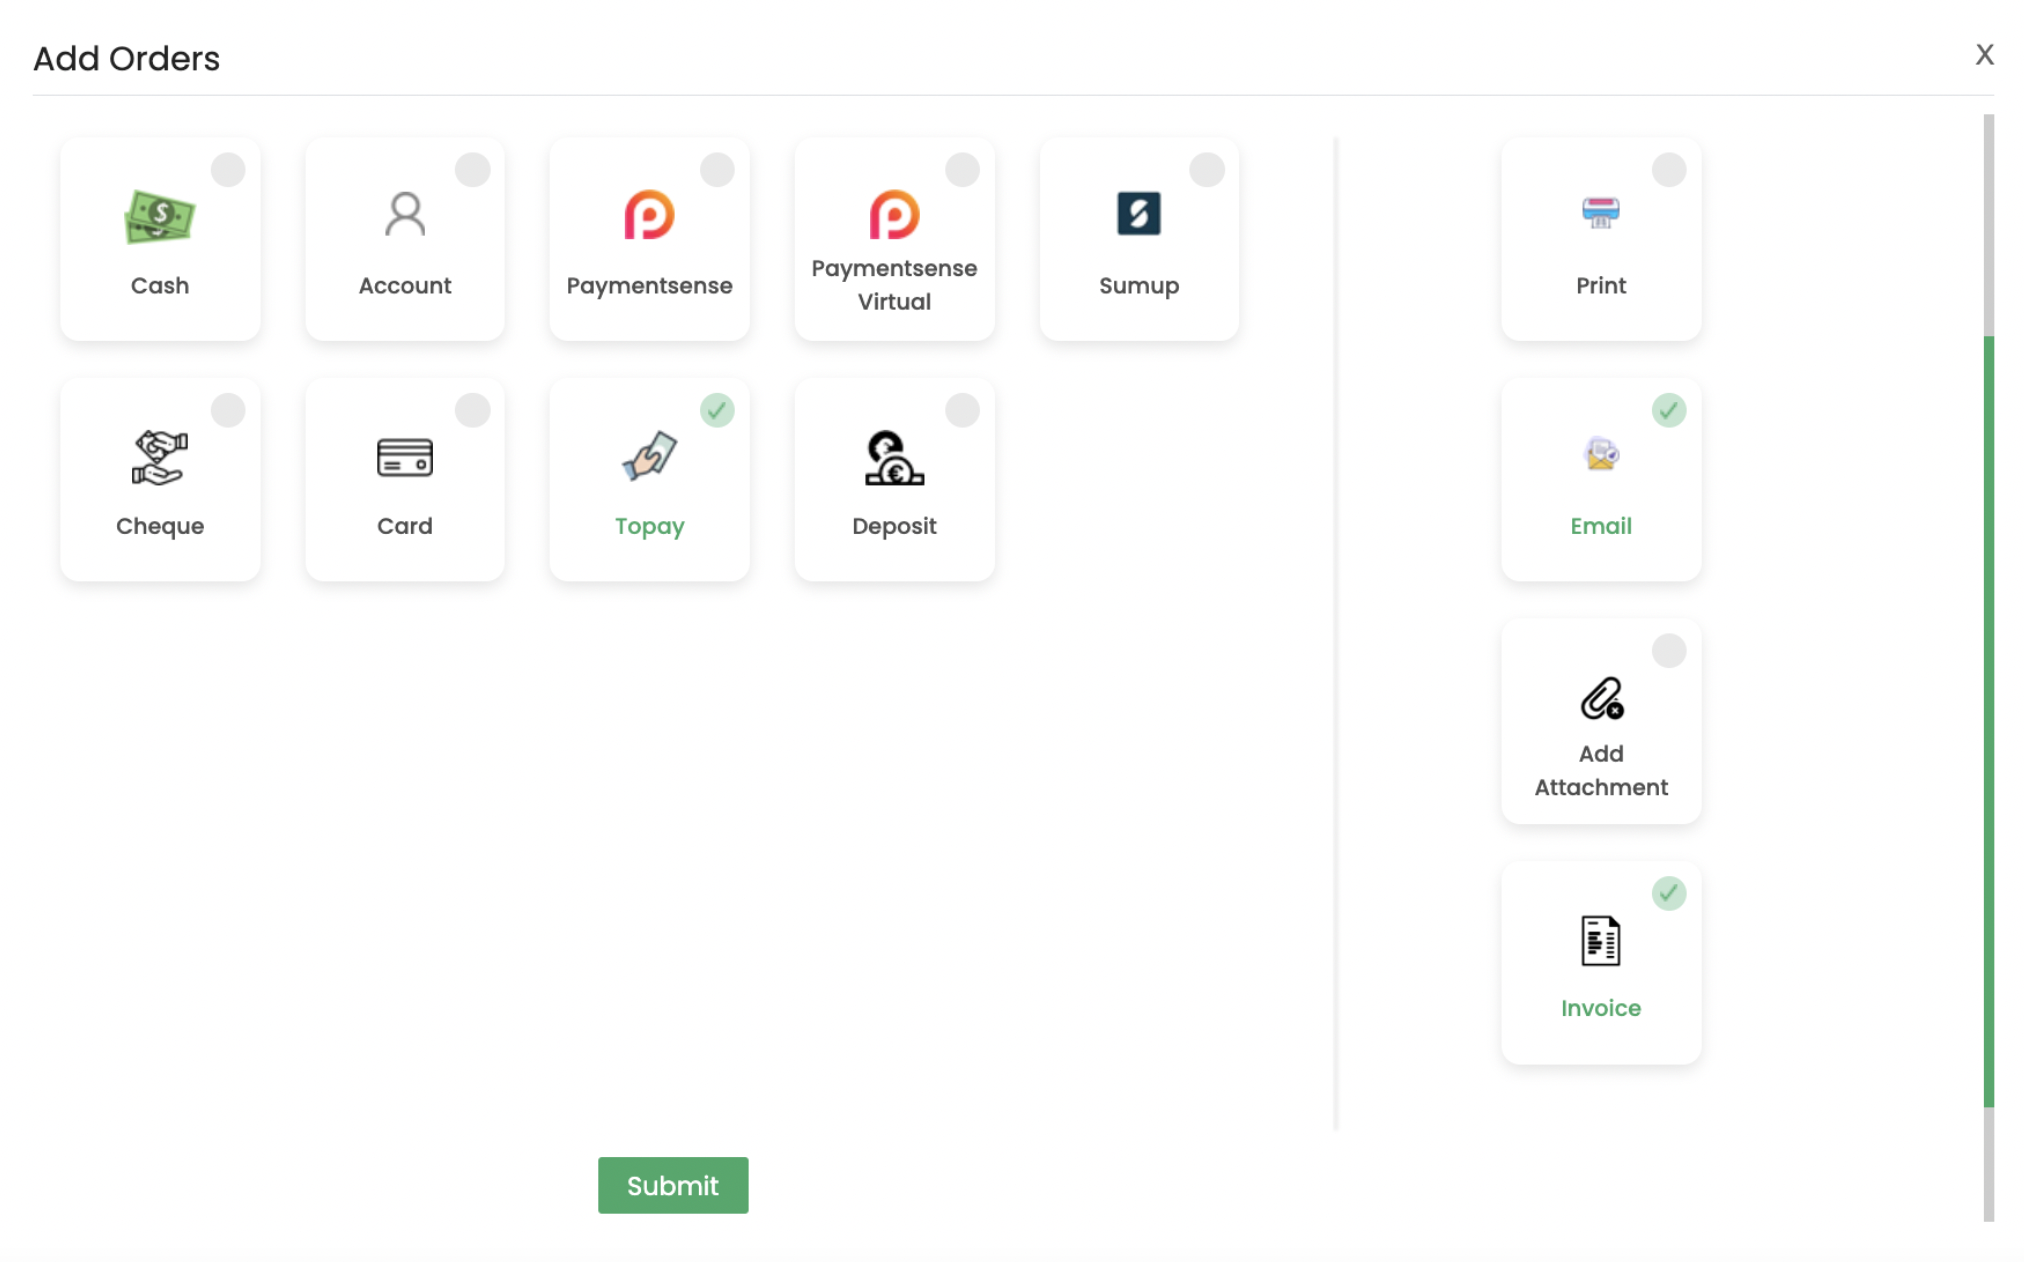
Then select what method your customer wishes to pay (this should match all the payment methods on the FrogPOS). If your customer wishes to pay later or leave a deposit, these options are also available.
Don't forget to select the right-hand options if you would like to send an email confirmation or an invoice (confirmations can be set to send automatically in settings > other settings)